In this post, I’ll show you how to add a music player to your website. First, I’ll show you how to embed a music player using SoundCloud. Then, I’ll show you how to add a music player using Iron Music (a plugin that comes with the FWRD Theme).
So first up, adding your music player with SoundCloud…
This post is part of a 14-step series on creating a website for your band using WordPress. Click here to go back to the main page.
Embedding a SoundCloud Music Player
First, to add a SoundCloud player to your website, head over to your SoundCloud account:
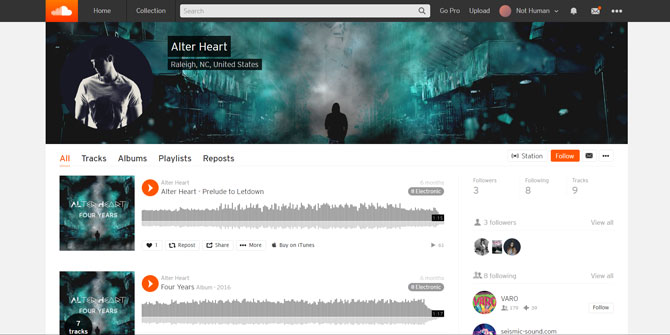
Then, find a song you’d like to share and click “Share”:
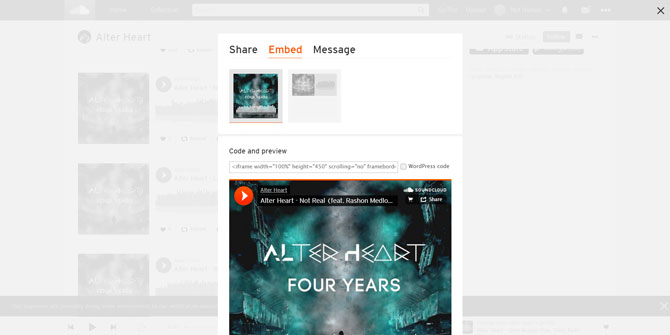

A box will pop up with a code to embed in your website. If you scroll a bit further down you’ll see a few options:
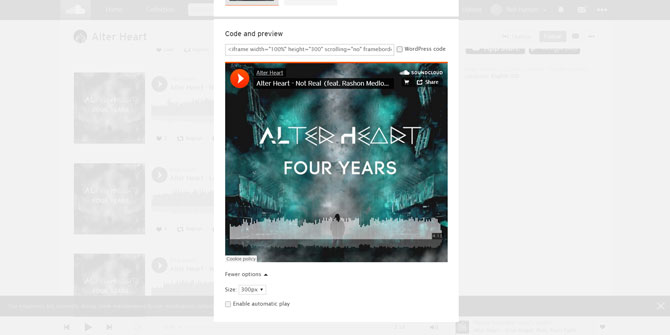
Here you can set the size of the player and choose if you’d like to enable automatic play. Once you have your options set, scroll back up and copy the embed code. Then, head over to the backend of your WordPress website and navigate to the page you’d like to add the player to. From there, paste the code where you’d like the player to appear:
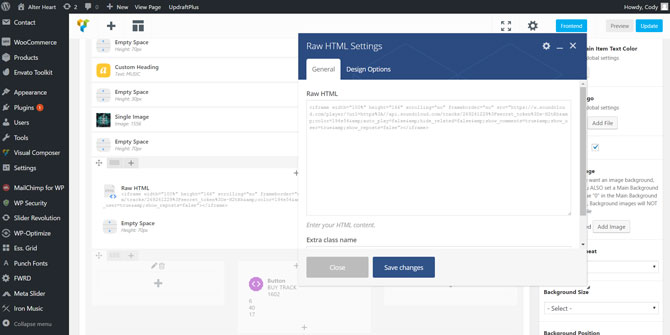
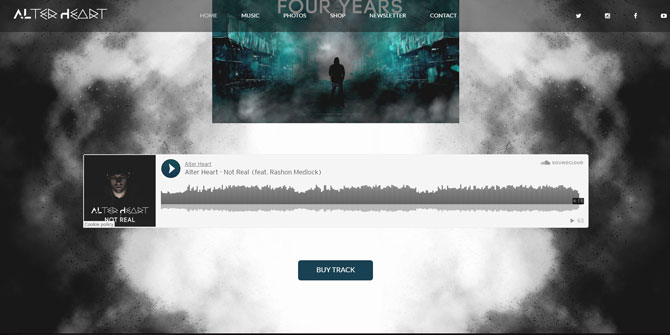
I’m using Visual Composer so I added it to a Raw HTML block. If you’re not using Visual Composer, you’ll need to add it to the “text” version of a page. Then, save the page and it should now be visible on the frontend on your website:
Adding the Iron Music Player
If you’re using the FWRD Theme, the theme comes with its own music player. However, to use this, you’ll need to use the Discographies functionality of the site. The Discographies area allow you to create a page for each of your releases. You can then include a music player on this page, album cover, reviews, and link to buy the song or album.
Personally, I chose not to use the area and it’s not present on my site (www.alterheart.com). The reason being is that I have my music up on SoundCloud, so any songs I wanted to share, I used the SoundCloud embed player. Also, my albums are listed on my shop page. So I didn’t want to create another page for them within the Discographies area.
But anyways, I’ll show you what that looks like and how to set it up if you decide to use it.
First, click “Discographies” in the WordPress left-hand navigation. You’ll then be brought to the Discographies page where all of the albums/songs you’ve added will be listed:

You likely won’t have any added at this point so click “Add New” in the top left corner (next to the “Discographies” title). You’ll then be directed to the details page for your release:
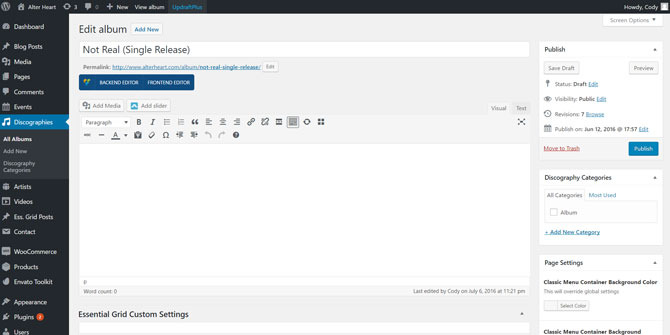
Here you can name your release (in the box at the top of the page) and a description in the large text box below that. Scrolling further down you can add your music:
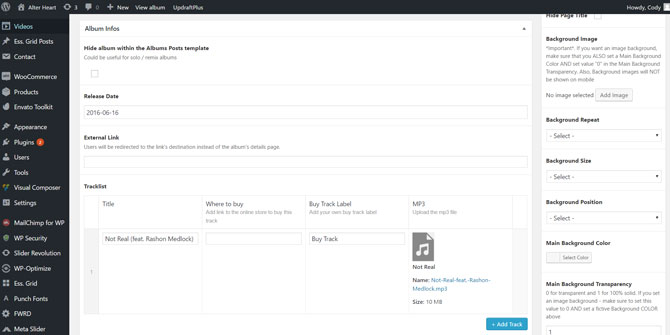
Here you can add your music, songs titles, release date, etc. Add each song you’d like to show up in the music player.
Finally, scrolling to the bottom are a few more options:
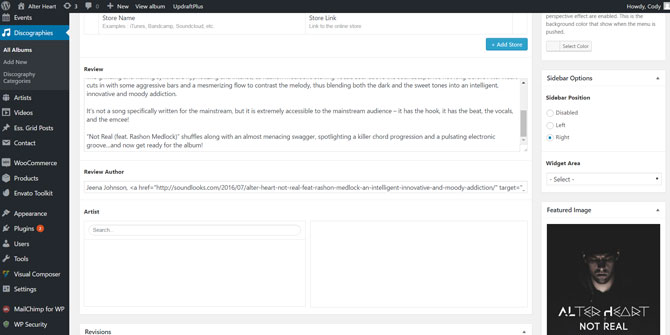
There is a section to add reviews (like those from a blog, magazine, etc.) and a box labeled “Featured Image” to the right. Here you can add your album cover.
When you’re all done adding your music, descriptions, and adjusting the settings, scroll back up to the top of the page and click “Publish”. The page will now be live:
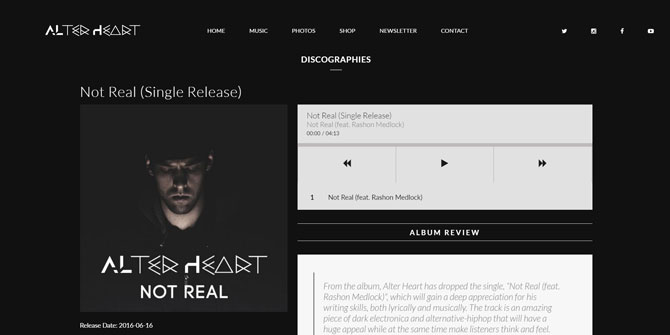
The page will feature the description you included, the album cover, reviews, and a music player for the songs you added.
Once this page is live, you can then add the same audio player to other pages on your website using Visual Composer:
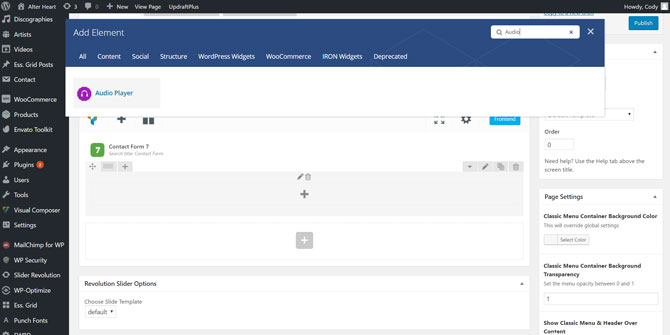
Just head to the page you want to add it to, then search for “Audio Player”. Then add the player to the page and update. The player will now be live on that page.
To change the colors of the music player, scroll to the bottom of the WordPress backend and find “Iron Music” in the left-hand navigation. You’ll then be directed to the Iron Music settings page. At the top of the page click the “Music Player” tab:
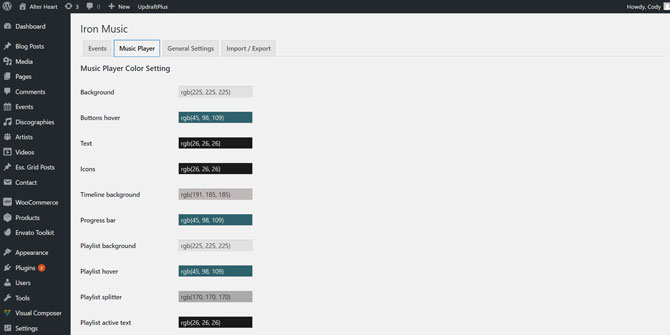
Here you can set the color for the different elements on the music player.
There you go! There are two ways to add a music player to your website. If you have any questions, let me know in the comments below and I’ll do my best to answer them. If not, let’s move onto Step 10: Adding Events.
Or, click here to head back to the main page.

Hi, great tutorials thanks. Our site will feature music from two artists and we want to list/sell music from them both. Will the fwrd theme be ok for that? Can I separate the two artists’ music onto different pages using the discographies option?