
In this post, I’ll show you how to use Visual Composer to create a one-page homepage. I’ll cover how to use both the frontend and backend editors of Visual Composer, cover my own homepage on www.alterheart.com (so you can create a similar design if you like), how to add links to your website menu that will scroll to a section on your page, and where to set your homepage on WordPress.
First up, creating your homepage…
This post is part of a 14-step series on creating a website for your band using WordPress. Click here to go back to the main page
Creating Your Homepage
First, click “Pages” in the WordPress left-hand navigation menu. This will bring you to the Pages area where all the pages you have created will be listed. Click “Add New” in the top left-hand corner:
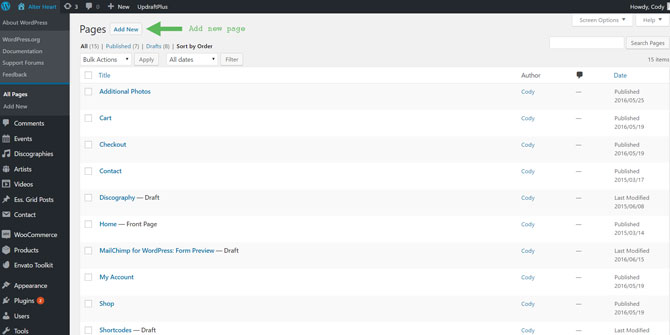
A new page will be created. Name this “Home”:


Now, there are a few ways to build your page using Visual Composer. You can do this on the backend or frontend of your website. Let’s take a look at the frontend way first. Click the blue button that says “Frontend Editor”. You’ll then be directed to the frontend of that page:
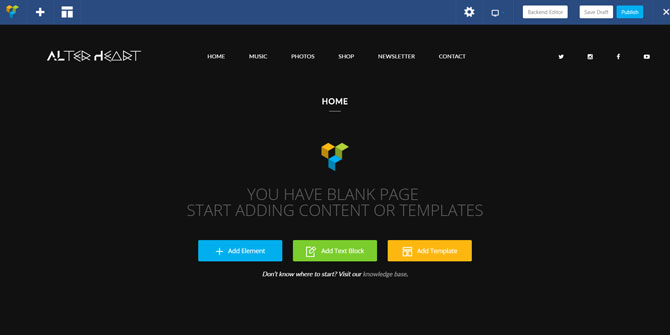
Here you can start to build your page. Click “Add Element”. A box will then pop up:
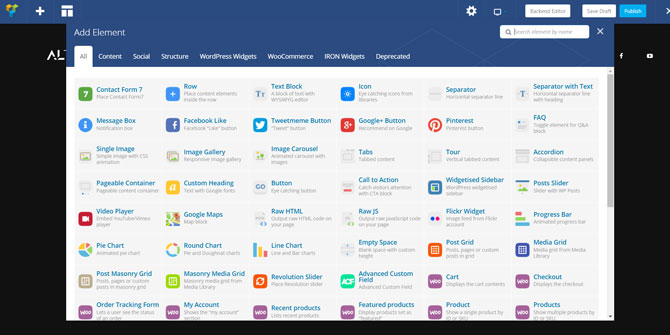
Here you can select from a list of different elements to add. Let’s start by adding a row. Click “Row” then you’ll see the following page:
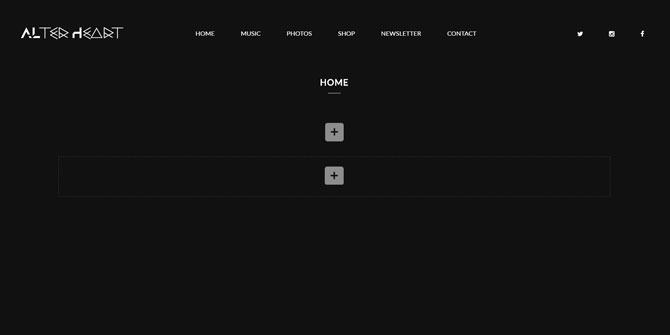
Click the top “+” button to add an element to that row. That list of elements will pop up again and you can start adding things to this row. Once you’ve added everything to that row, you can add another, and another, and so on.
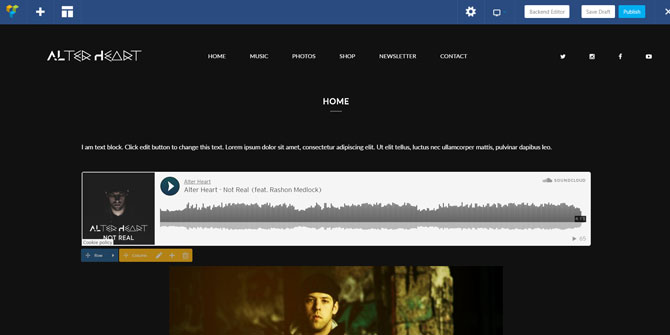
Below, I added a text block, embedded SoundCloud Player (I show you how to do this in Step 9), photo slider (I show you how to do this in Step 11), etc. You can see how the page starts to come together:
Now, I can’t cover everything there is to add in Visual Composer. But, this hopefully gives you a starting point. Mess around with it a bit to get a better idea. Each row will create a different section of that page. You can change the background color of a row, text block, column, etc. If you want to add space between an element, you can use the “Empty Space” element.
You can also edit this page on the backend using Visual Composer. Click “Backend Editor” at the top of the page to get there. You’ll then be taken to the backend editor of the page:
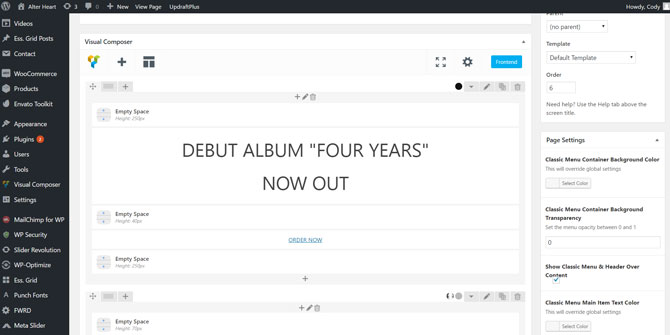
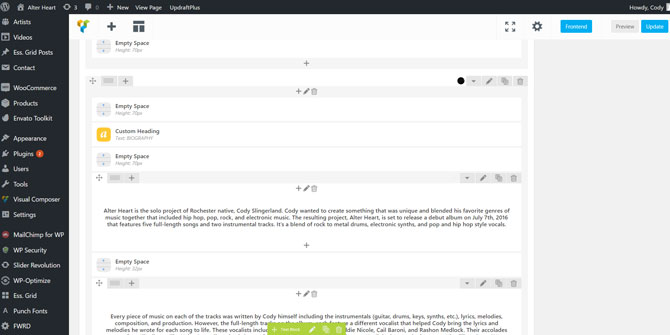
Visual Composer on the backend works similar to the way it does on the frontend. You can add rows, columns, elements, etc. by clicking a “+” button. You can then rearrange elements by dragging and dropping them. The above and below screenshots are taken from the homepage on my site, www.alterheart.com. If you want to create a similar look, you can copy the elements.
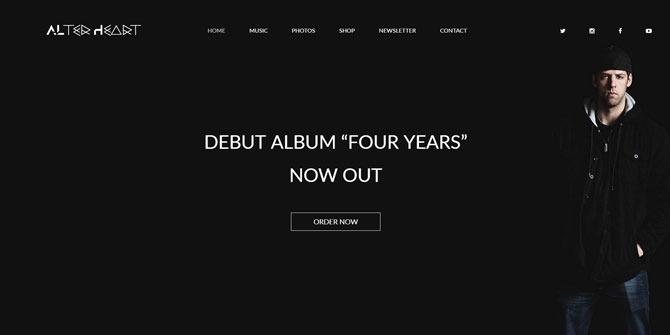
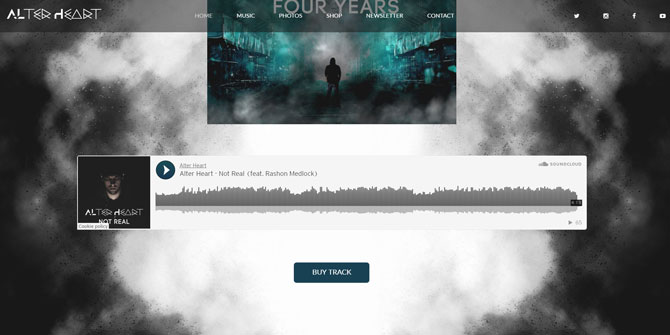
First, I included a row with a large headline and a button to buy my album (shown in the screenshot above). The background is a professional image of myself.
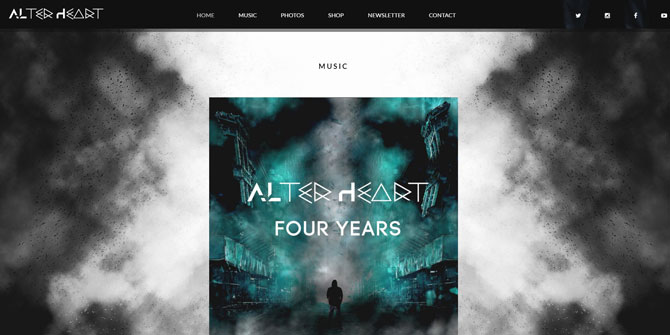
Then, I followed it up with a row picturing my album cover and a SoundCloud embedded music player for the lead single off that album, “Not Real”:
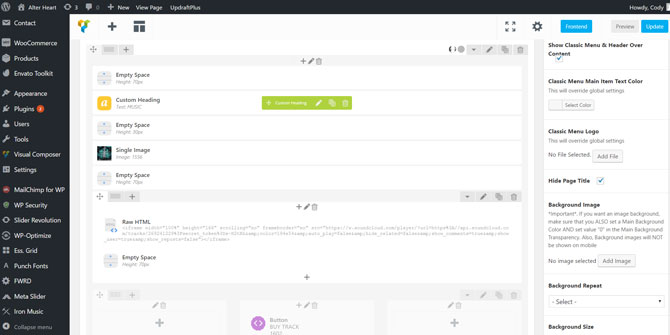
I created a custom graphic to use as the background for that row.
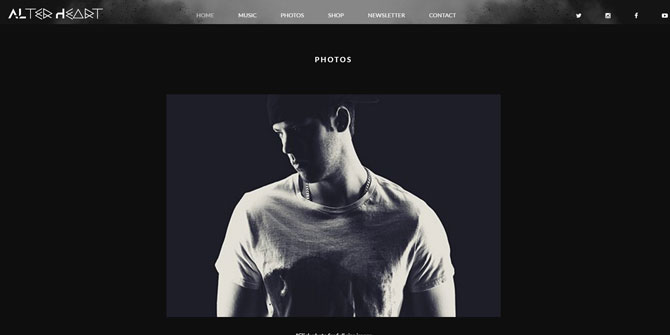
Then, I added a row to include a photo slider:
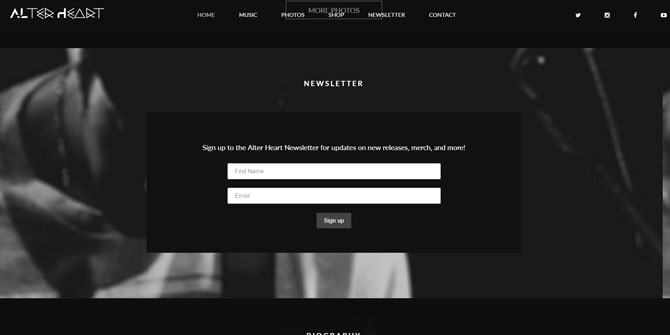
From there is a row to include my email signup form (see how to set that up in Step 13):
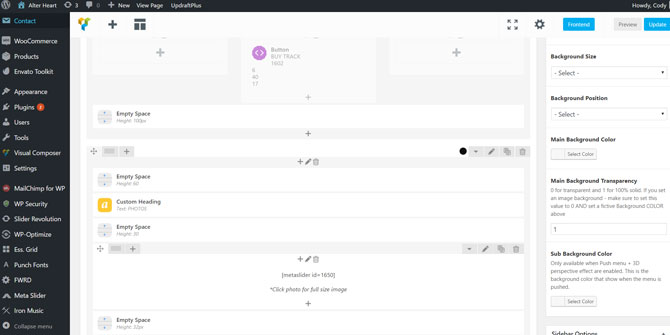
Moving along, I created a row to include a biography for myself and a bit about the project:
I used a professional photo of myself for the background.
Finally, I included one last row in order to add a contact form (learn how to add a contact form in step 12):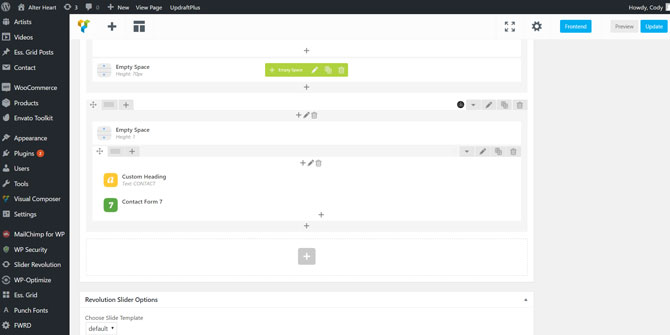
Here’s how it all comes together on my site:
The first row:
The album and SoundCloud music player row:
The photo slider row:
The newsletter row:
The biography row: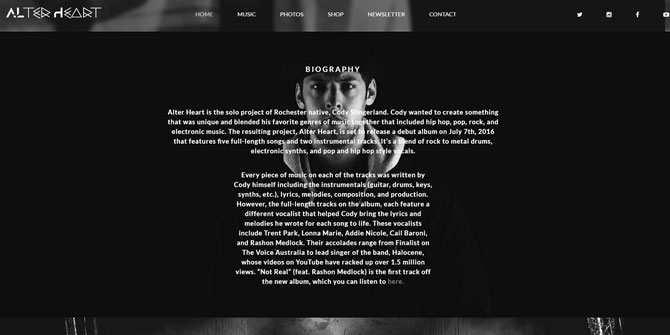
The contact form row: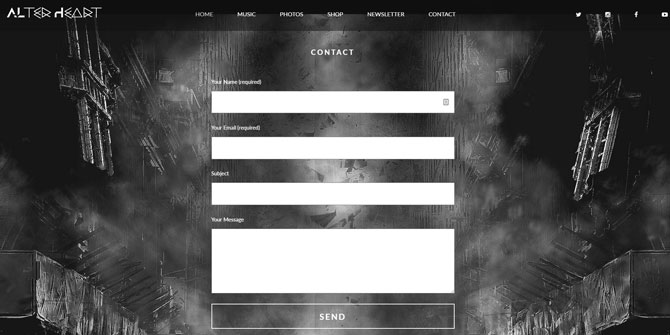
Once you have your page built, save and update/publish it to make it live on your website.
Adding Scroll Down Links to Your Menu
To add a link to your website menu that links to one of these rows, first find a row you’d like to link to and click the pencil icon to edit the row settings:

A box will pop up for the Row Settings. Scroll down until you find an input box labeled “ID Name for Navigation”. In this box, add a unique identifier for this row. For example, for my photos row, I added “photos”. Make sure there are no spaces in this name and that all the letters are lowercase:
Save your changes and then update the page.
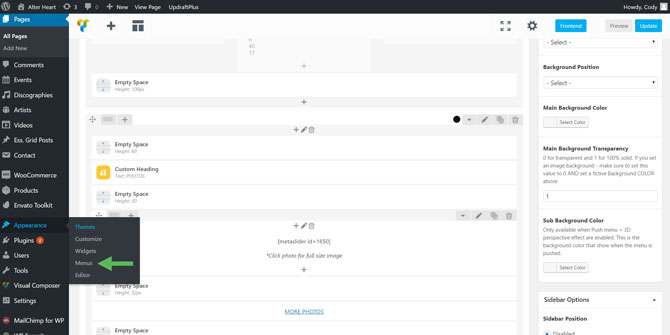
Then, find “Appearance” in the WordPress left-hand navigation menu and hover over it. A drop down box will appear. Click on “Menus”:
This will bring you to the Menus page where you can create your website’s menu. To add an item to the menu, you can use one of the four options in the box to the left.
To add the link we just created, click “Custom Links”. The box will then open up. In the URL input box, put your website domain address, followed by a slash, then a hashtag, and then the name you put in the ID Name input box in the previous step: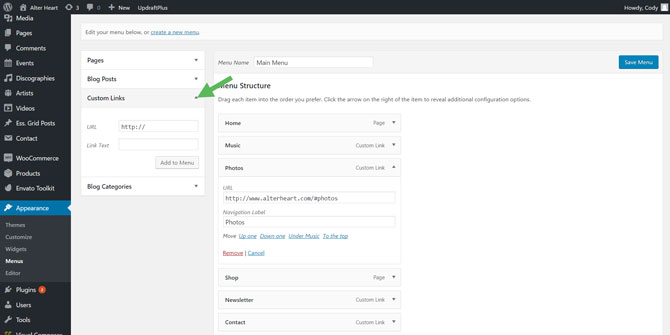
So for example, you can see for the photos row link, I added the following URL:
When someone clicks this link in my menu, instead of bringing them to a new page, it scrolls down to the photos row. You can label this link in the “Link Text” input box when you create it or the “Navigation Label” input box after you create it and when you’d like to edit the name.
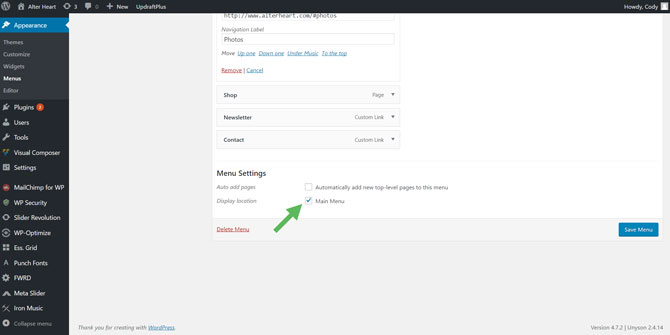
To save the menu and activate it for your site, scroll to the bottom and check the “Main Menu” checkbox and hit “Save Menu”. The menu will now be live and appear at the top of your site.
Setting Your Homepage in WordPress
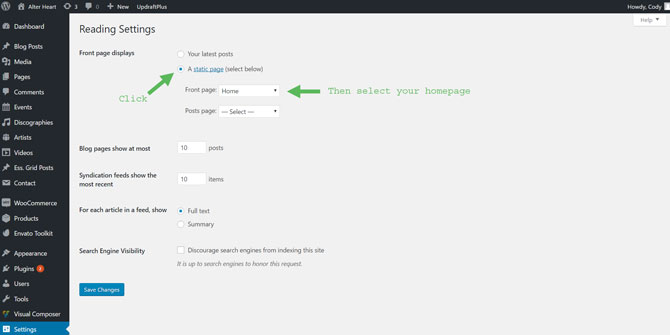
Finally, to set the page you created as your actual homepage, find “Settings” in the WordPress left-hand navigation and hover over it. A drop down will appear. Then, click “Reading”. Once you’re on the Reading Settings page, click the radio button that says “A static page” then select your homepage in the drop down box next to “Front page”:
Then, save your changes. That page will now be set as your homepage.
That’s it! That was a lot to cover. So if you have any questions, leave them in the comments below and I’ll do my best to answer them. If not, let’s move onto Step 8: Setting Up Your Store.
Or, click here to head back to the main page.
