Like I mentioned in the previous few steps, this section of the tutorial will use the FWRD theme. All the customizations, screenshots, advice, etc. in this section will pertain to that theme only.
Each theme is different. If you want to follow along exactly, you will need that theme. If not, each of the other themes have highly-rated support, so if you run into a problem with one of them, they should be able to help you.
Anyways, let’s get into how to customize the FWRD theme for you musician website.
This post is part of a 14-step series on creating a website for your band using WordPress. Click here to go back to the main page.
How to Customize the FWRD Theme
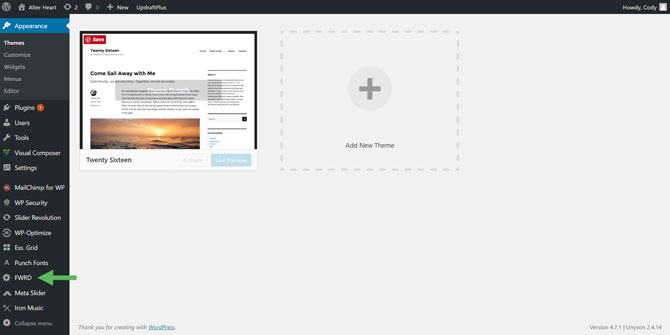
Each theme places their theme settings in different sections within the WordPress backend navigation. In the FWRD theme, there is a separate section with a corresponding tab, just for the theme settings. Navigate to the button that says “FWRD” on the left-hand side navigation and click it:
Now, it’s tough for me to touch on every last detail and thing you can adjust in this theme’s setting. Some things you will have to figure out on your own. Luckily, it’s fairly straight forward and if you run into any problems, the theme comes with detailed documentation and you’ll have 6 months of support to answer any questions you have.

With that said, though, I’ll try to cover each area briefly and touch on any major points.
Also, all of the settings pictured in the screenshots in this post are taken from my theme’s settings for www.alterheart.com (one of my musical projects). So if you want to create a similar look, you can copy some of the settings from the screenshots.
First up, the “Getting Started” tab:
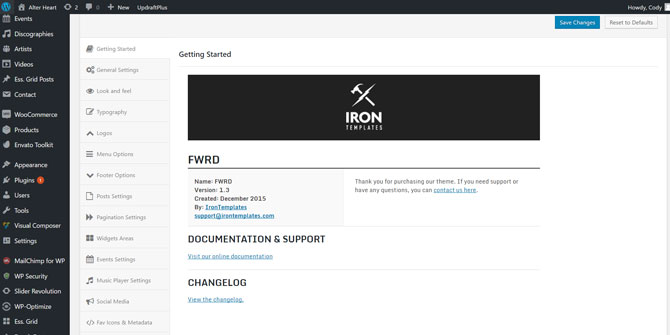
Here you will find information on the theme, the version you’re using, and a link to the theme’s documentation.
Moving along to the “General Settings” tab:
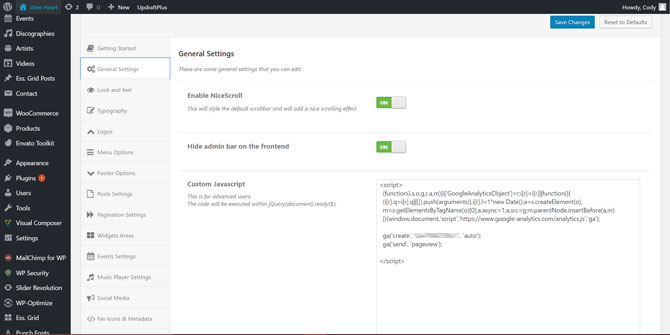
Here you can enable NiceScroll (a smooth scrolling effect) for the frontend of your website, hide the admin bar on the frontend (I would recommend doing this), and add custom Javascript (if you’re using Google Analytics, you can add your code here).
Now onto “Look and Feel”:
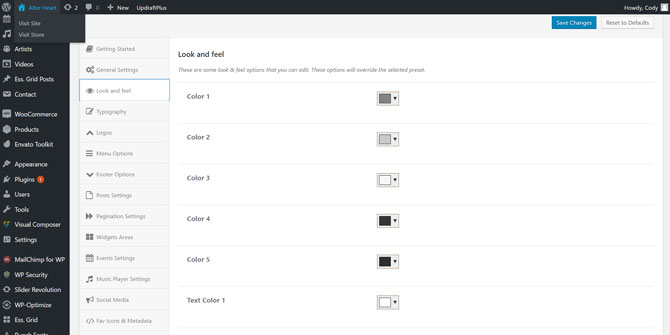
Here you can set the different colors you would like your theme to use. Most of the settings here are pretty self-explanatory. Mess around with the different color settings to see where each is applied and make adjustment accordingly.
From there is the “Typography” tab:
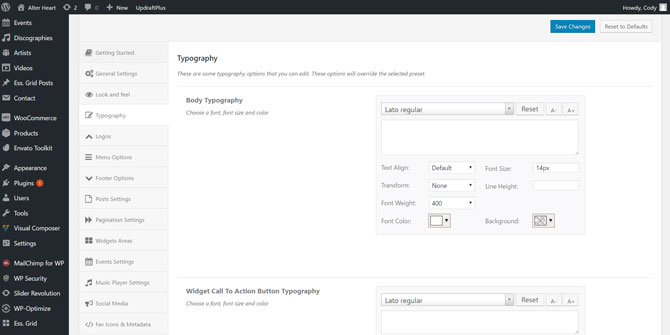
Here you can adjust the typography for each element on your website such as body text, menu text, sub-menu text, headings, and so on. You adjust the text size, color, font-weight, and more. I wouldn’t recommend going overboard adjusting every single element to a different font, color, weight, etc. Pick a few different colors and fonts and stick with that.
Next, you can move onto “Logos”:
![]()
Here you can add your band logo. You will want to add this as a PNG file with a transparent background.
Moving onto “Menu Options”:

As the name suggests, here is where you can adjust all the setting for your menu. This is probably one of the most expansive setting areas.
You can select whether you would like the menu to be “Full Width” or “In Container” (this basically means the menu will only extend to the ends of the page content). You can set the alignment, position (fixed means the menu sticks to the top of the page when you scroll), and effect on scroll (if set other than default, it will use a different menu when scrolled, which you can also set a different logo for).
Scrolling further down the page you will find options for your logo like alignment and padding. Padding will represent the amount of space around the logo (this will effect your logo height). This should be in pixels (for example, 20px). If you’re not familiar with padding, you can experiment with this until you get it right.

Scrolling further you will find “Menu Container” options:
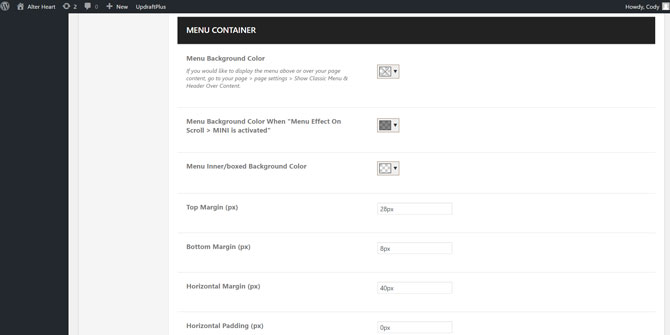
You can set the background color of the menu, padding, and margin. Padding and margin will create the spacing around your menu and will be used to set the menu height. Again, if unfamiliar, try experimenting with the values until you achieve the look you’re going for (or copy the value I put to copy the look of my menu on www.alterheart.com)
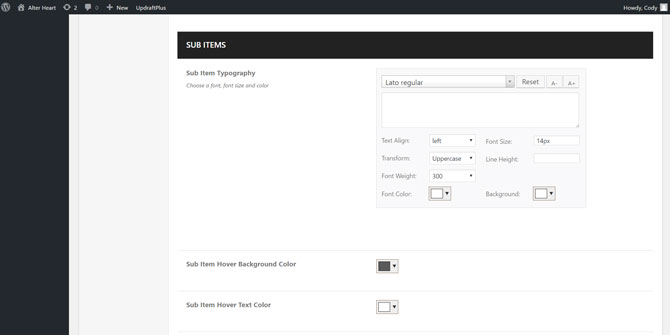
Continuing on, you will find options for your mobile menu:
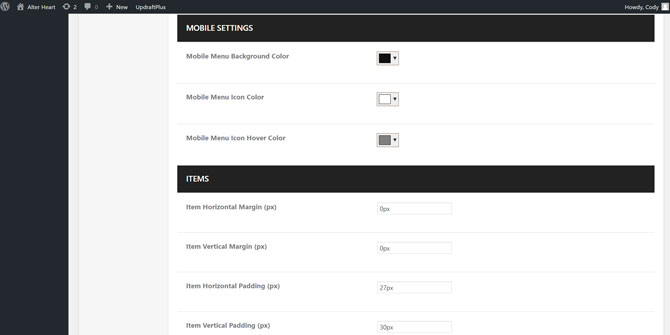
Here you can set different color options for your menu when viewed on mobile. Below that is “Items”, items are the text in your menu (for example, “Home”, “Store, “Music”, etc.). You can adjust the margin, padding, and typography of these here.
Finally, below that you will find a section labeled “Hot Links”:
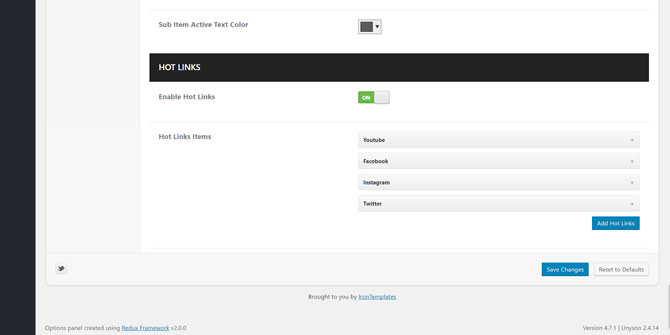
Here you can add which social media icons you would like to appear in your menu.
Now to move onto “Footer Options”:
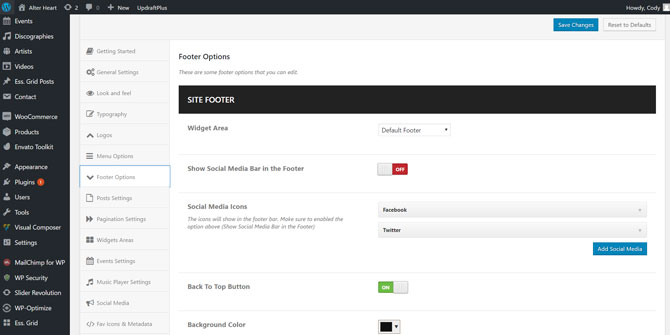
Here you can decide if you would like to show social media icons in your footer (the bottom of your website), and if so, which ones you’d like to show. You can also decide if you would like to include a “Back to Top” button and set the background color of the footer area.
Scrolling further you will find a section on “Copyright & Notices”:
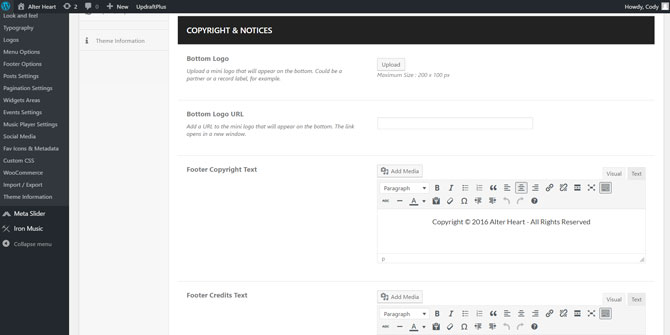
Here you can include copyright information for your website and any credit for the web designer (if you used one). You can also choose to add a logo to your footer.
From there, you can move onto “Post Settings”:
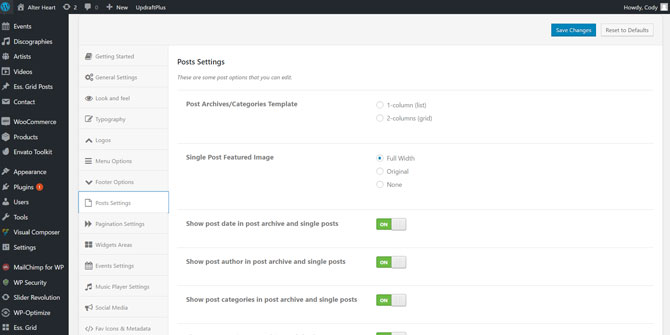
This is where you can adjust the settings for your blog archive page and individual blog posts. If you’re not creating a blog area for your website, you can skip over this page.
Moving onto “Pagination Settings”:
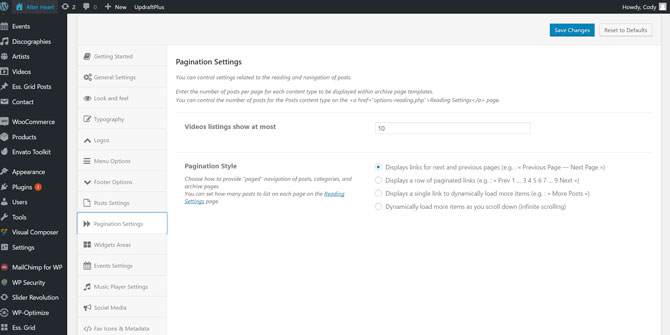
Again, this section is primarily for your blog should you elect to create one. You can choose how many results to show and the pagination style.
From there is the “Widgets Area” tab:
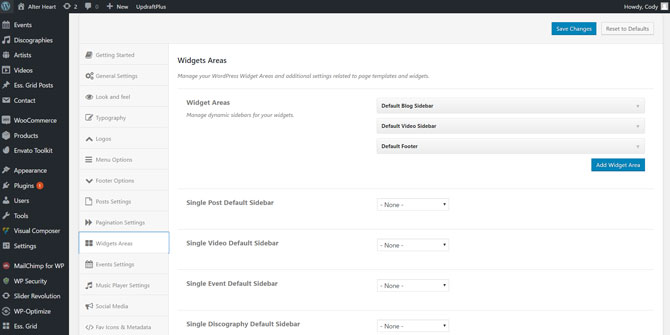
You can create custom widget areas and choose the default sidebar for different areas of your site. This section is also primarily for your blog if you end up creating one. If not, you can skip this section.
Next is the “Event Settings” tab. However, this section just provides you with a link to the actual event settings page. This is not where you adjust event settings. I’ll discuss this more in the step on setting up events.
The next tab, “Music Player Settings” is the exact same way. So let’s move onto the “Social Media” tab:
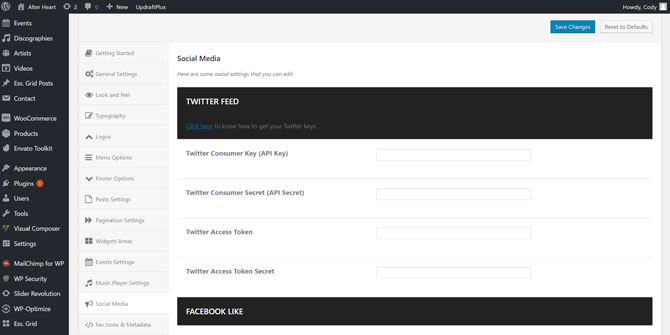
You can use this area to add your Twitter account in order to add a Twitter feed to your website. You will need an API key for this. I’m not going to get into how to set that up. If you want to do that you’ll just have to Google it :).
Moving onto the “Fav Icons & Metadata” tab:
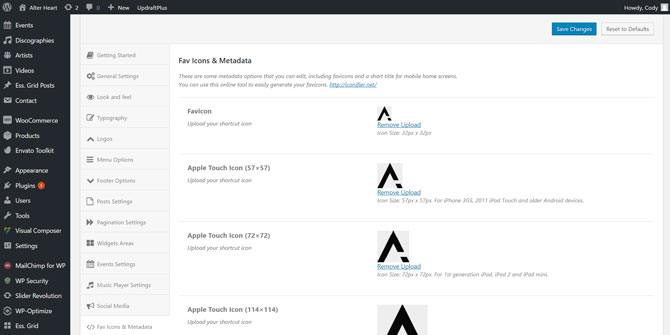
Here you can add your site’s favicon icons. A favicon is the little icon that shows up in the browser tab for your site.
From there is the “Custom CSS” tab:
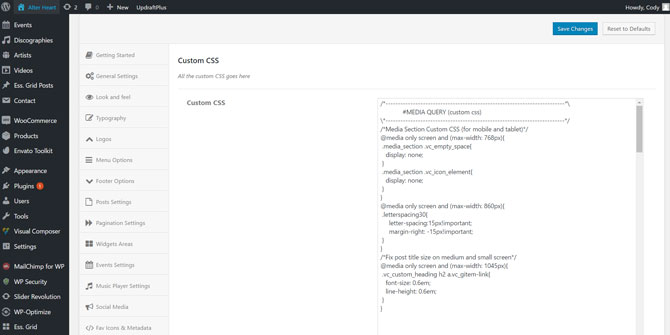
Here you can add any custom CSS code for your website. If you don’t know HTML or CSS, then just skip this section.
Next is the “WooCommerce” tab:
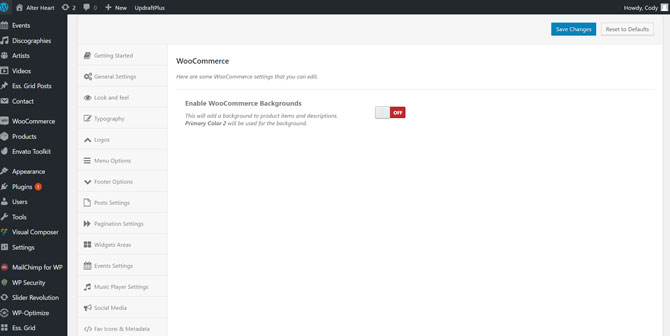
This section simply includes and on/off option for enabling a colored background for your product listings.
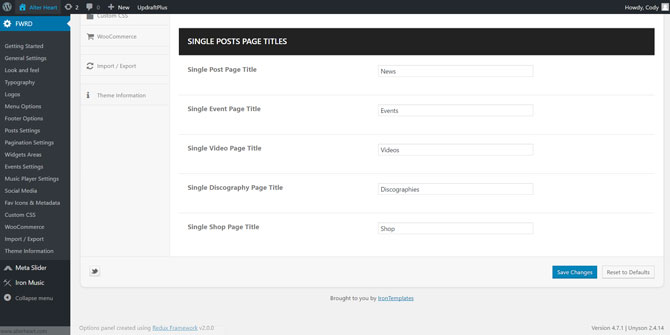
Finally, the last tab “Import/Export”:
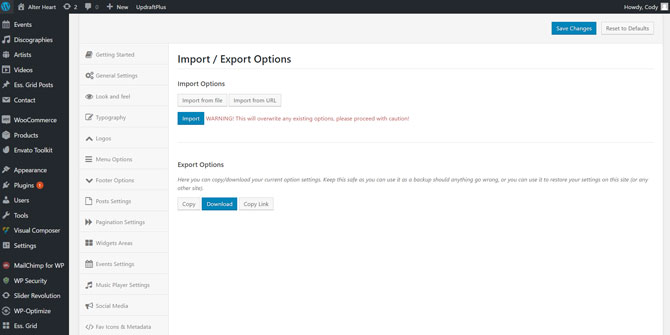
Here you can import theme options (like those from one of the templates that come with the theme) or export your own options (for backup or use on another site).
That’s it! We finally got through them all. If you have any questions on any of those, let me know in the comments below and I’ll do my best to answer them. If not, let’s move onto Step 7: Building the Homepage. In this step, I’ll cover how to create a one-page web design utilizing a homepage similar to the one I created for www.alterheart.com.
Or, click here to head back to the main page.

Hey Cody, thanks for this. Great how-to guide! I just would like to know if you can use custom fonts and colours with this template? Cheers, Steve
Hi Steve, thanks for the feedback! To answer your questions, yes you can choose custom fonts and colors with the FWRD theme.
Hey! Thanks for the guide! I am building a site right now for the first time using your examples. I can’t get the background color to change using the FWRD theme even though I set it in Look and Feel, yet the home page is still white. Can you help?
What’s your website? I’ll take a look. Feel free to send me a message here: https://www.infamousmusician.com/contact/
thank you bro