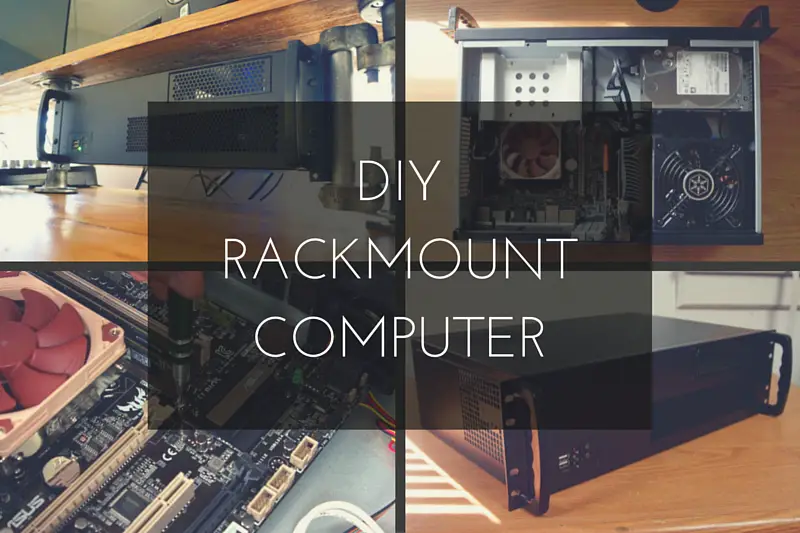
Recording music and editing video can take a large amount of your computer’s resources. So when I started editing more video as a freelance marketer, I found that my old computer just wasn’t cutting it anymore. I decided it was time to upgrade. I knew I needed something powerful and was interested in getting a Rackmount Computer. With little to no options out there, I decided to build my own. This post will walk you through all the steps I took to building my own Rackmount Computer.
I tried to document the experience as much as possible with pictures and additional detail but if you have any questions, feel free to ask them in the comments below. I will do my best to try to answer them.
Overview
Before building my new computer, I was using a desktop Dell Inspirion 530. I originally bought that tower for about $100 off Craiglist, and at the time that I purchased it, that was a great deal. I probably had that computer for about 4 to 5 years. The computer could handle music recording fairly well but occasionally, some plugins would cause it to overload or it would have a hard time running many plugins at one time. Specifically, plugins that ate up a lot of RAM like Superior Drummer, Kontakt, or Amplitube would give it problems when running these plugins together or multiple instances of the plugin, say Amplitube on a few different tracks.
However, the real reason for upgrading though, was its lack of power when editing video. At the time, I was branching off to start my own company and do freelance marketing work which included video production and editing. It would have a seriously hard time running Adobe Premiere, rendering sequences, and exporting video. Editing and exporting videos took an exceptionally long time, much longer than they should, and it was incredibly frustrating to someone who has little patience for these kinds of things. It was time to upgrade.
I wanted the new computer to be much faster overall. This meant a boost in processor speed, RAM, and even implementing a Solid State Drive to make programs a bit snappier. I also had plans for building a new desk and wanted the computer to be held in a rackmount case so that I could place it in rack rails that would sit atop of my new desk. Having never build a computer before, I did quite a bit of searching and research for parts that would help me build the computer I wanted.
So with all that out of the way, let’s get into the build:

Parts List
- 3U 12” Deep Rackmount Computer Case by P-Link
- I7 4790 Processor
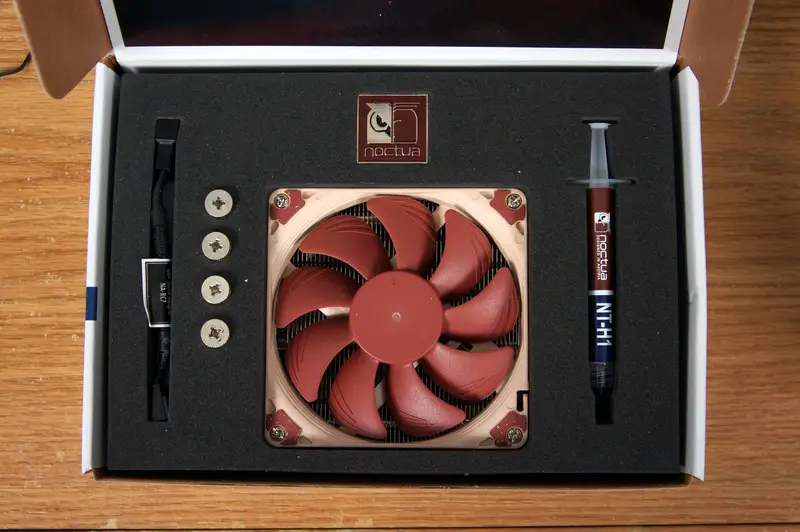
- Noctua CPU Cooler NH-L9I
- Asus Vanguard B85 Motherboard
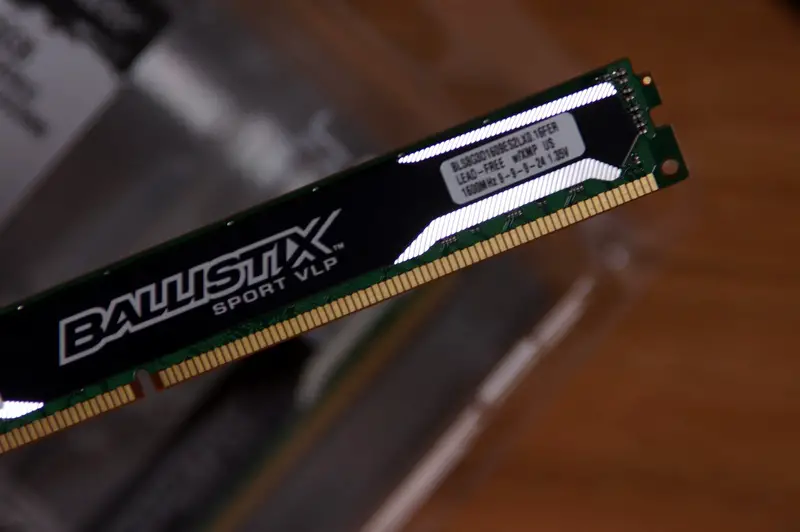
- 2x 8GB Crucial Sport VLP DDR3 Low Profile RAM
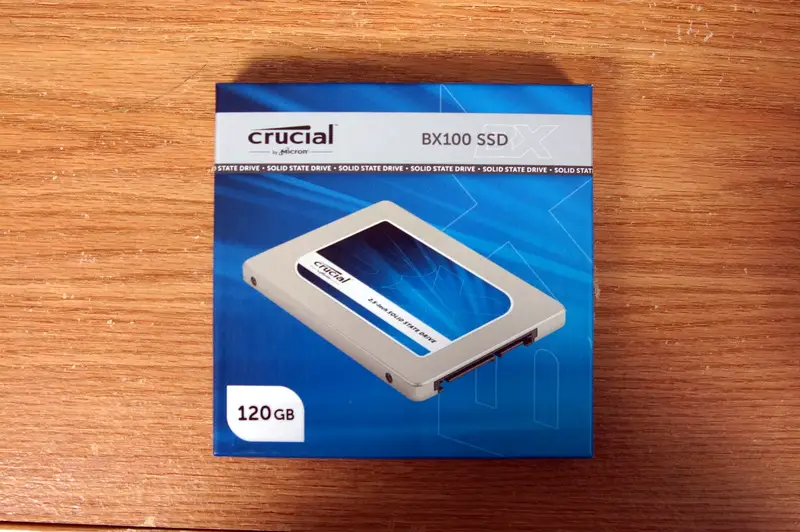
- Crucial 120 GB SDD
- Asus Nvidia Geforce GT 730 1 GB Fanless Graphics Card
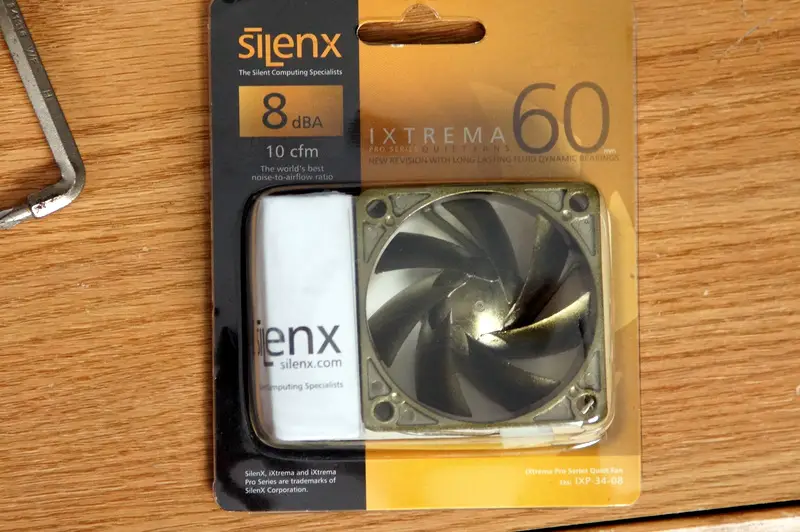
- 2x Silenx IXP-34-08 60mm Case Fans
Quick Specs:
- I7 Processor
- 16 GBs of RAM
- 120 GB SSD
- 2 TB HDD
Building the PC
First, let me start off by saying that by no means am I an expert on computers or even building them. This was my first computer build. This post is meant to be a recap of the steps I took to create and assemble the computer, whether right or wrong. When I was searching for other rackmount computers, I did not find much out there on building them. So this post will at least give an overview to those of you who are interested in doing the same and you won’t have to start completely from scratch.
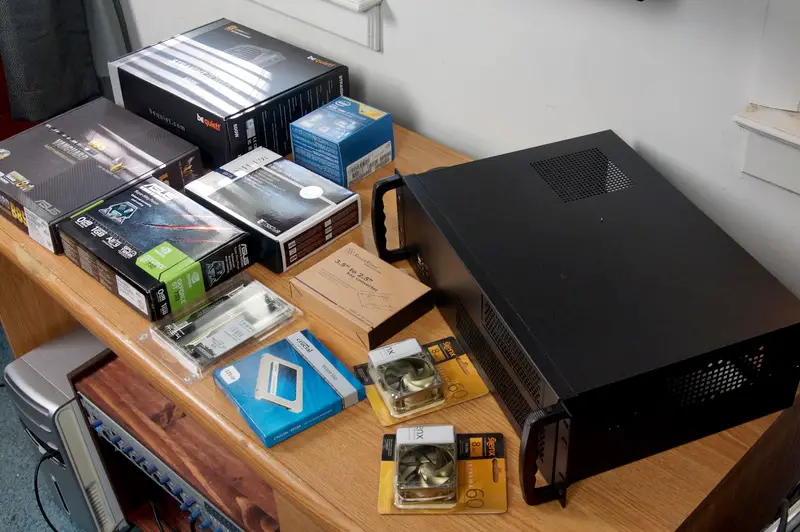
I started by clearing my desk, with all the parts and tools at hand for assembling the computer. I also brought up some additional lighting so I could see what I was doing inside the case and to try to get some better pictures.
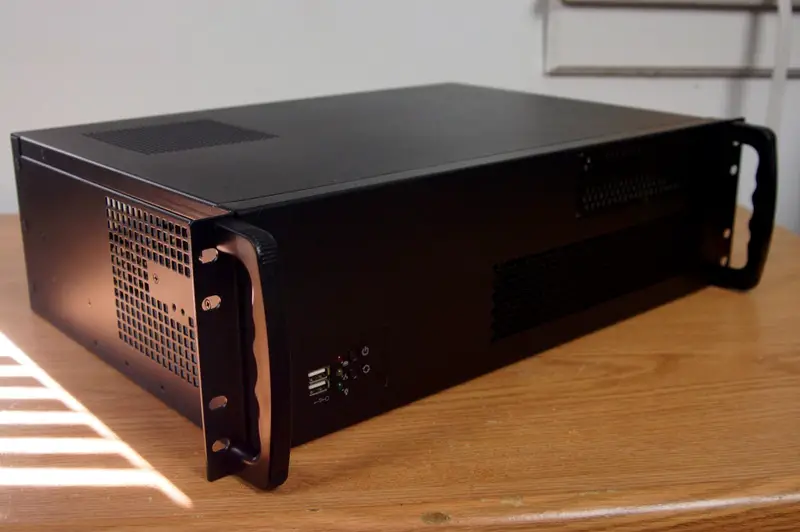
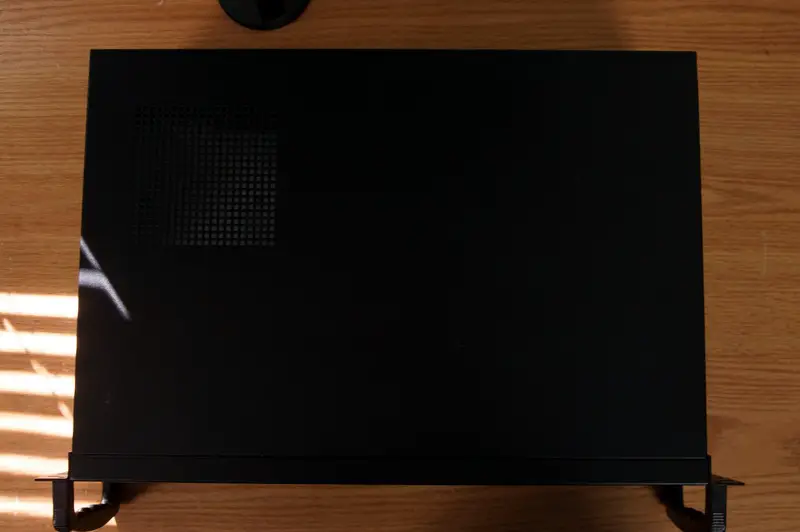
First, I had to take the computer case cover off to access the inside. On this case, the top has a screw on each side that needs to be unscrewed and then the top will slide off.
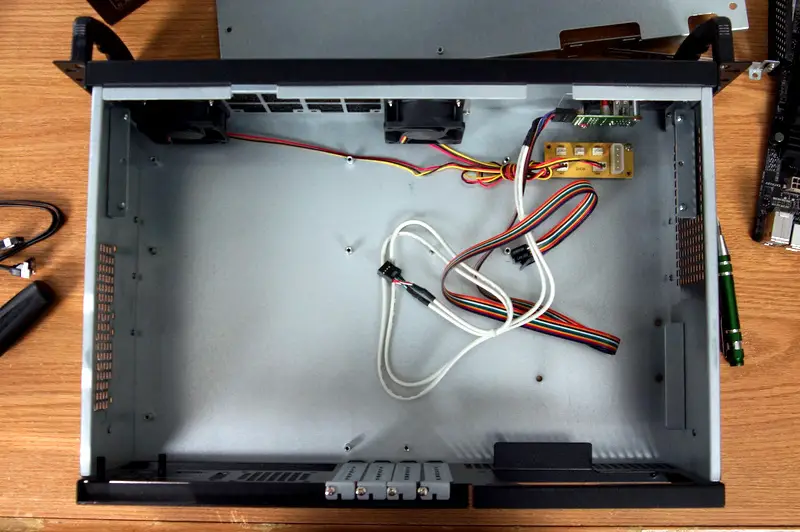
Above, you can see what the case looks like inside without any of the components installed yet. Everything in the case as pictured, is exactly how it arrived with the exception of a piece of metal that would hold the drives, which you can kind of see pictured above the case.
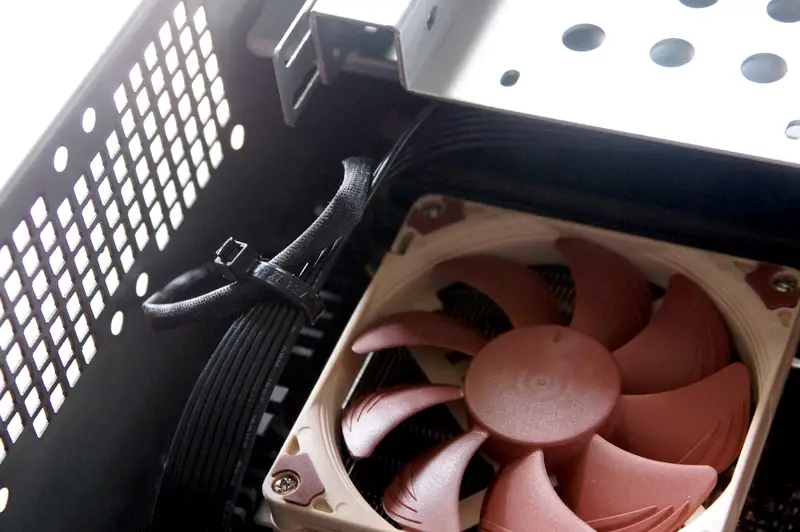
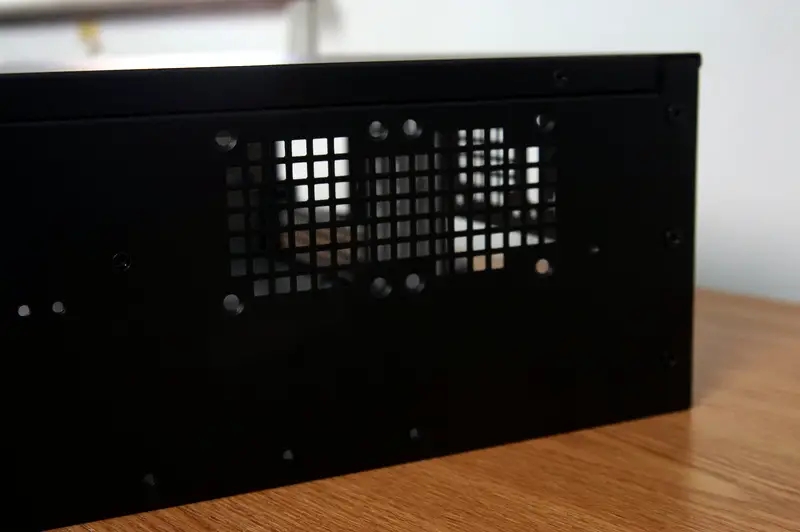
Now I built this computer a few months ago, so I don’t remember the exact order of how I installed each of the components. It probably doesn’t matter but just as a heads up. With that said, I wanted to replace the fans that came with the case. The computer would sit on my desk mounted in the rack rails, so I wanted the computer be as silent as possible. So I bought the quietest 60 mm case fans I could find and replaced the fans:
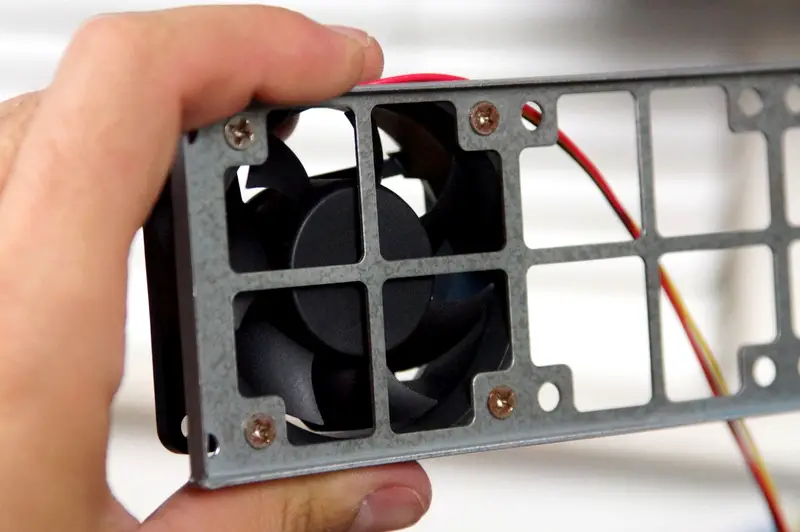
Above, you can see the mount for the case fans and one of the fans attached to the mount. This mount attaches to the front inside of the case.
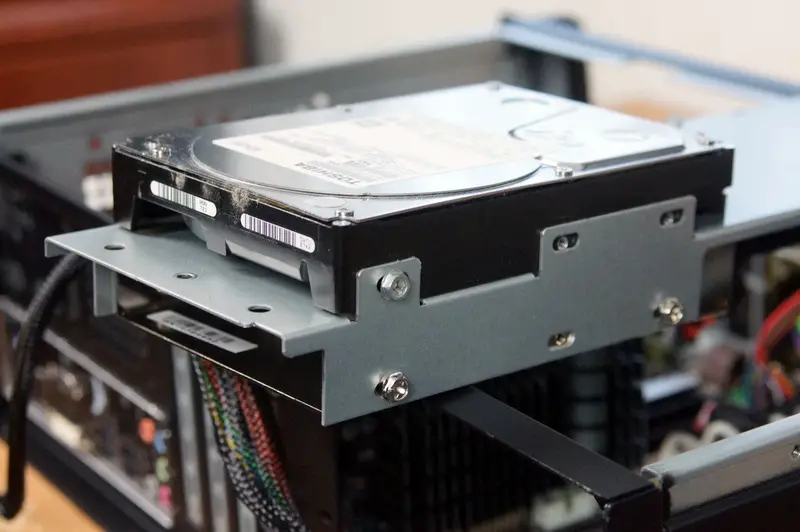
In this computer, I wanted to install two different drives: one 120 GB Solid State Drive (SSD) to install Windows and programs on and one 2 TB Hard Drive (HDD) to save files on. The computer has spaces for 3 HDDs and 1 Optical CD Drive. In this computer case, there is a removable piece of metal that runs along the front inside of the case. This piece of metal can hold the Optical Drive as well as two HDDs, one on top and one below the piece of metal. There is also space below where the Power Supply (PSU), where an additional HDD can be mounted.
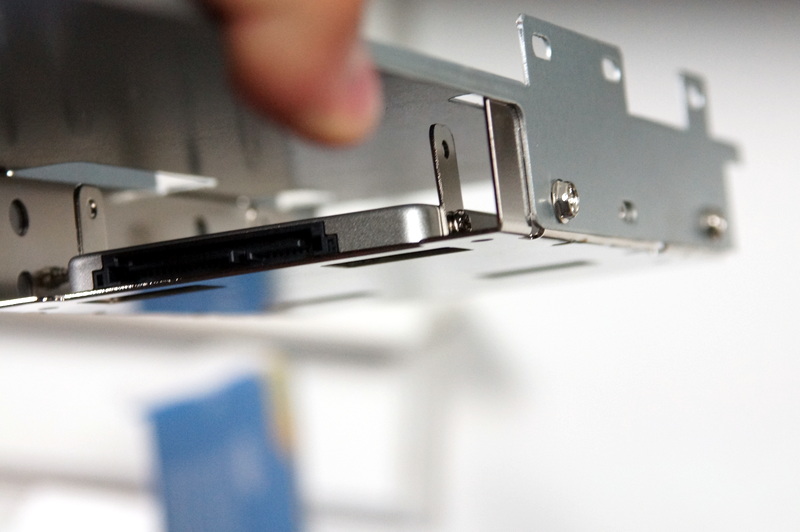
You can see in the picture below, the piece of metal for mounting the drives. I mounted my 2 TB HDD on top and the 120 GB SSD below.
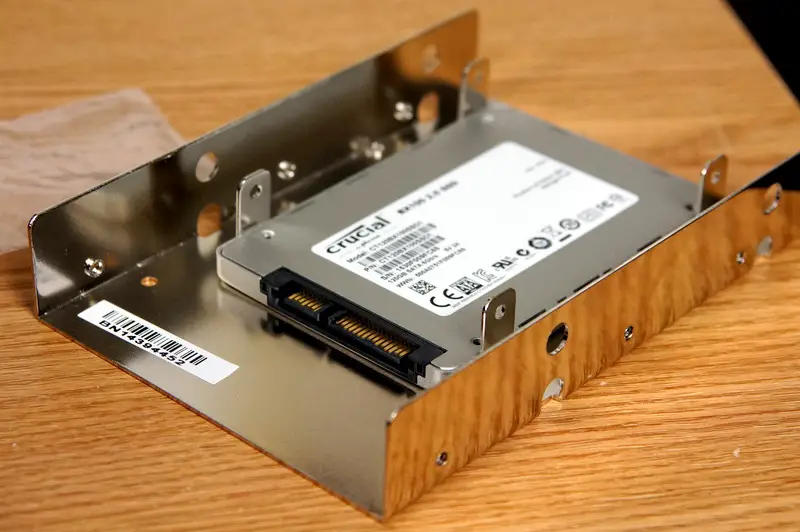
To mount the SSD, however, I needed an adapter. The adapter would allow me to mount the SSD to the adapter and then the adapter to one of the HDD slots. In the picture above, you can see this adapter with the SDD placed inside. SSDs drives are typically much smaller in size and this adapter allowed me to mount the SSD in one of the HDD spaces.
Below, is another shot of the adapter. This time the SSD is connected to the adapter and the adapter is now in the place of one of the HDD slots.
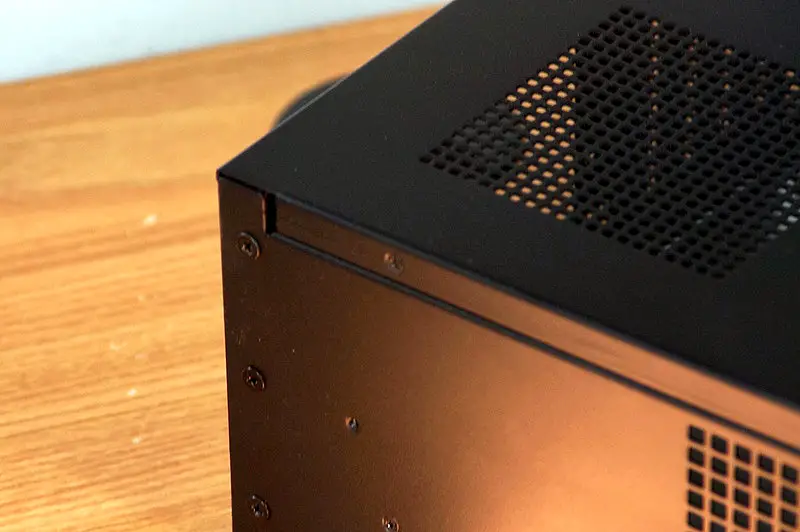
Getting this metal piece back into the computer case once all the drives were attached was a bit difficult. The piece is just large enough to fit into the case, so it needed to be wiggled out when being taken out of the case. I couldn’t really get it back into the case using the same method. However, there are screws towards the back of the case that keep the case partly together (pictured above). By taking these out, I was able to pull the case apart just enough to fit the piece back into the case and mount it back down.
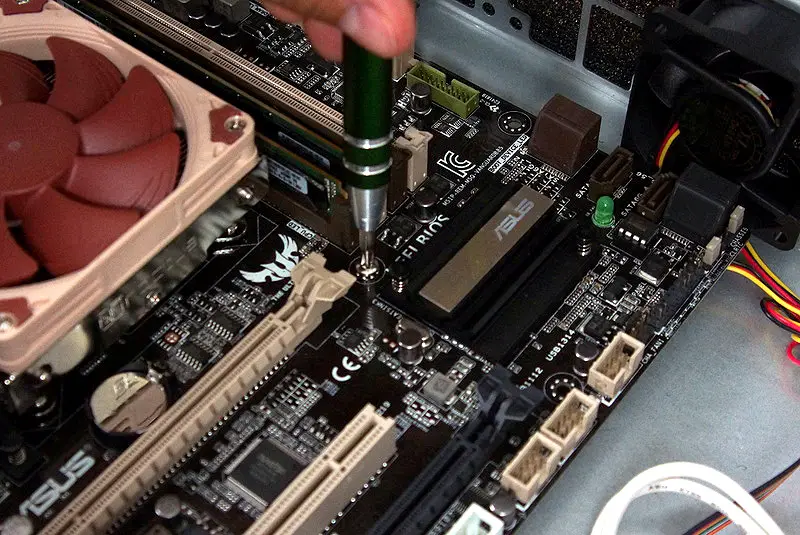
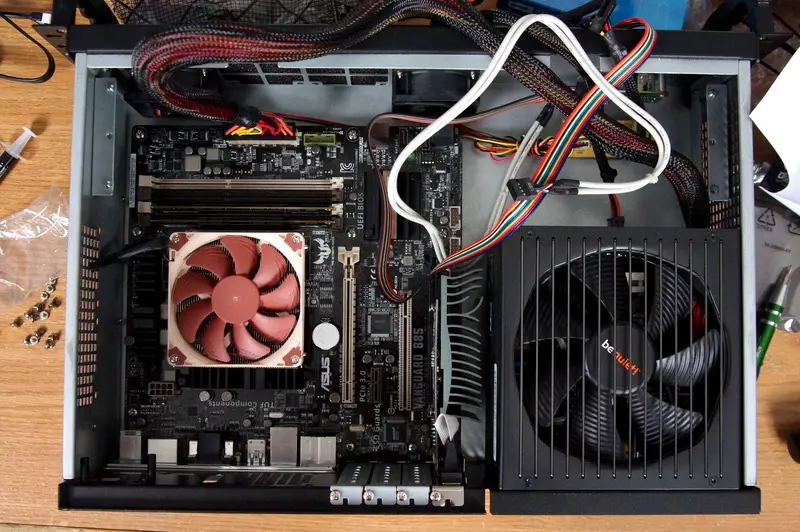
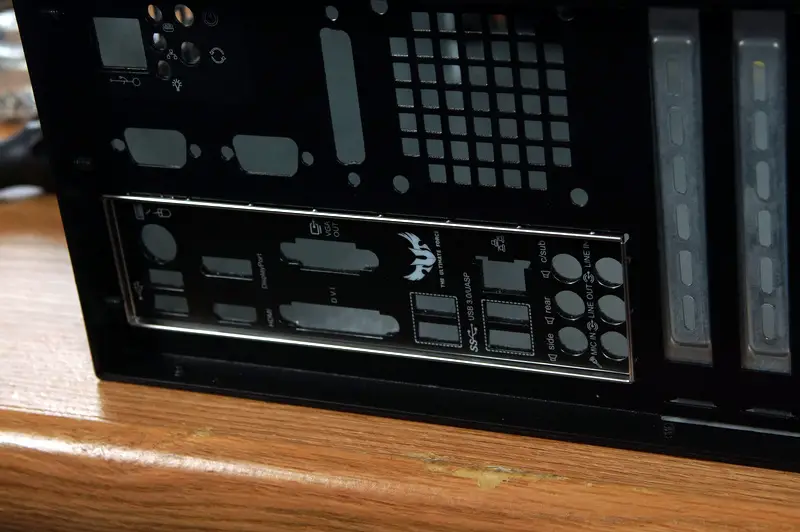
Attaching the motherboard was fairly straightforward. I just placed it into the case, lined up the holes in the motherboard with the holes for mounting it to the case, and screwed it in (pictured above).
One thing to note here, while we’re on the topic of the motherboard, since this case is so condensed, there are only two types of motherboards that would fit: MicroATX and Mini ITX. The motherboard I used is a MicroATX. The case will not be able to fit larger motherboards such as a full size ATX motherboard.
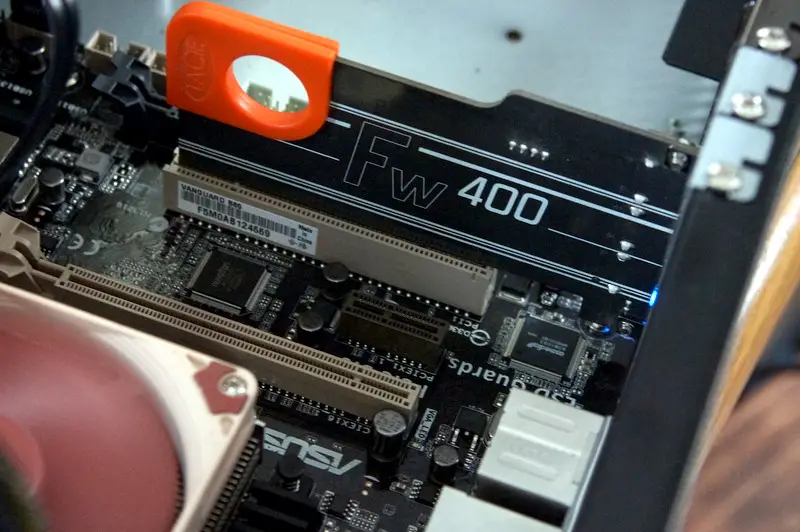
Attached to the motherboard, are two 8 GB sticks of RAM, and additional Graphics Card, an I7 Processor, and a Firewire card for connecting my audio interface to the computer. The Firewire card is pictured below:
Next, I installed the Power Supply (PSU). However, this is where I ran into a problem. The PSU I ordered originally, was small enough to fit in the case, yet, if I were to put the piece of metal that holds the HDDs back into the case, there would not be enough room for the PSU cables. The space in between was too tight. Unfortunately, I didn’t get a good picture of this but it wouldn’t have worked out using the PSU pictured above. Which was kind of a bummer, since, I had spent a lot of time to find a PSU that was ultra quiet and that one fit the bill perfectly in that regard.
Anyways, it wasn’t going to work, so I had to spend more time searching the internet to find something that would fit and still be very quiet. I ended up finding a match and got it installed into the computer case:
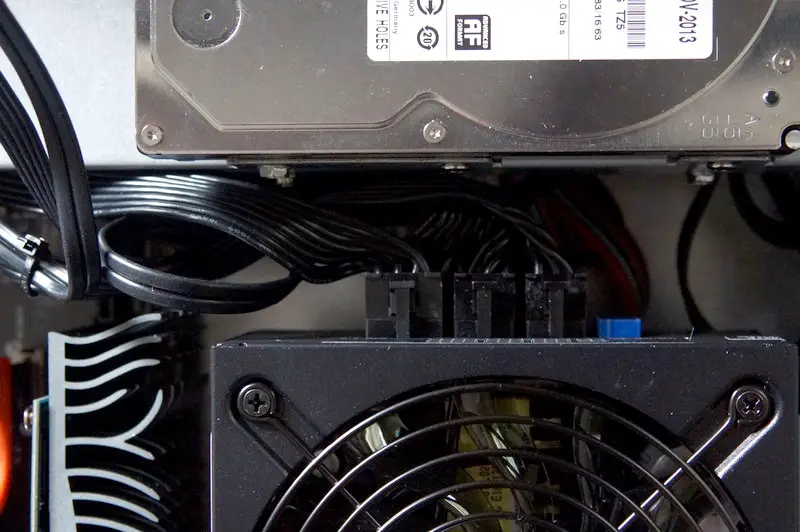
Above, you can see the new PSU installed with just enough space, in between the PSU and the metal piece used to mount the HDDs, to allow the cables to run from the PSU to the other components in the computer that needed power. This PSU was still very quiet, maybe even just as quiet as the previous one I had ordered, so I was very happy with that.
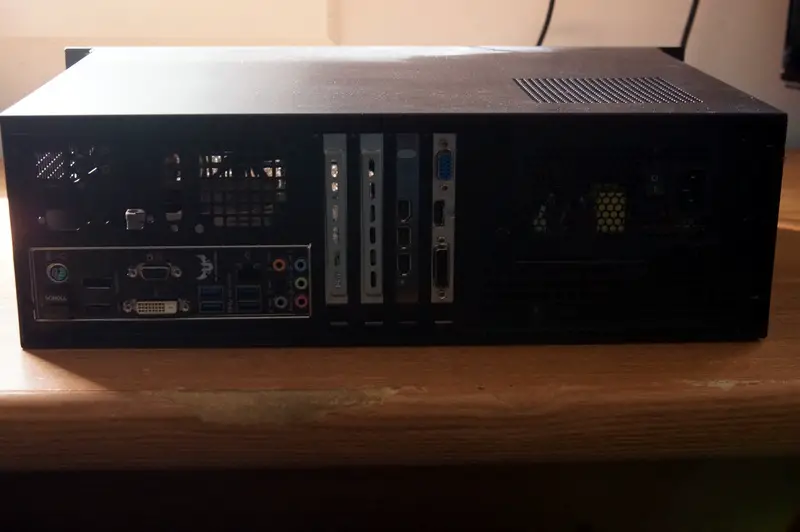
Finally, the computer was completely assembled:

Before concluding, here are a few other things to note:
- I decided to install an adapter into the space of the Optical Drive. I knew that I would never want to install a CD or DVD drive into this computer, so I figured I would install an adapter here to allow me to mount another HDD in it’s place should I ever want to add one. You can see the adapter up in the left corner of the above picture.
- To manage some of the cables inside the computer, I used zip ties to pull them together. There is an example pictured below.
Additional Photos


Conclusion
Although, it was quite a process for me to build the computer (time spent researching, finding parts, etc.), I’m very glad I did. It was a good experience for me to familiarize myself with the components and how to assemble a computer. Plus, I was to build a beastly computer in a rackmount case, which is exactly what I wanted.
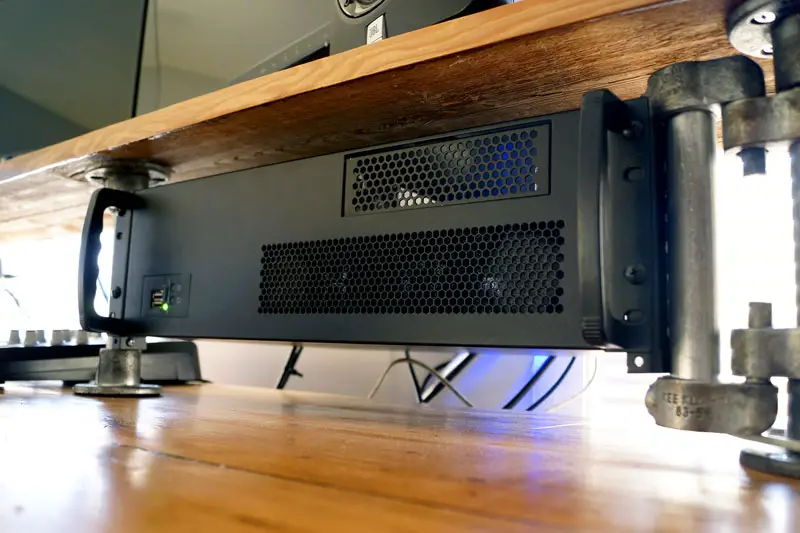
The computer looks pretty sweet now that it’s mounted in the rack rails and it runs great. It’s very fast, starts up in about 15 seconds (my old computer took a few minutes), and I have absolutely no problems when recording or editing songs. Video Editing is much less painful now as the rendering, editing, and exporting time are all much faster.
Again, if you have any questions, leave them in the comments below and I will do my best to try to answer them.


Hi, I am also a musician just getting into computer studio’s and have the software I want to use, but my laptop (Arg) is too slow and can’t handle the workload, it is more for people who want to stream videos and travel the net. You did an awesome job and give me hope I can do it, I need to know what OS you used to install for your system…? Windows 7, 8, 10
I prefer 7, So I hope you used this one…
Also what was your final bill on all there parts, if I may ask…?
Thanks
Hi Kellie,
Thanks for the feedback! I know how frustrating it can be to be limited by your computer’s performance. With this new computer though, I have not had any issues. I can run any DAW and multiple instances of demanding plugins like Superior Drummer, Amplitube, Kontakt, etc. without any slow down or any other issues. On this system, I run Windows 10. But you can install Windows 7 on it if that’s what you like. It would run either. I spent just under $1100 for all the parts. That includes the two monitors, computer case, all the components inside (except for the 2 TB HDD I already had), tax, and shipping. That was in September 2015. So prices for a few of the components may be a bit cheaper now. It’s definitely been worth it. It works great and rivals the performance of many other computers that are priced much higher.
What PSU did you end up using?
I went with the SilverStone 500w SFX-L. I bought it on Amazon and it was about $105 then. Now, it’s $90. Here’s the link: http://amzn.to/2jYZncz. It’s worked well for me so far. It’s still very quiet and I haven’t had any issues.