In this post, I’ll show you how to set up a shop page on your website. To do this, we’ll use a free plugin called WooCommerce. This is the most popular and expansive e-commerce plugin for WordPress. First, I’ll show you how to install the plugin. Then, I’ll run through the settings and show you how to add a product (like a CD, t-shirt, or digital download).
First up, installing WooCommerce…
This post is part of a 14-step series on creating a website for your band using WordPress. Click here to go back to the main page.
How to Install WooCommerce
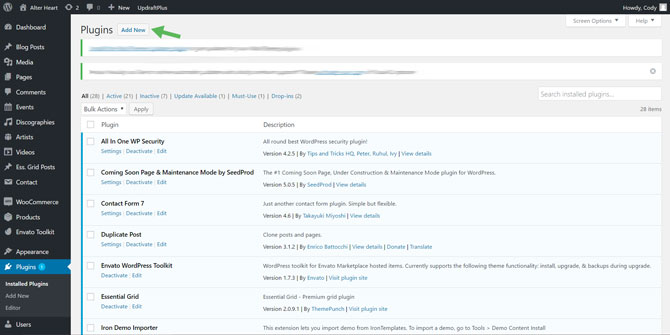
First, click on “Plugins” in the WordPress left-hand navigation menu. You’ll then be brought to the Plugins page. From there, click “Add New” in the top left corner:
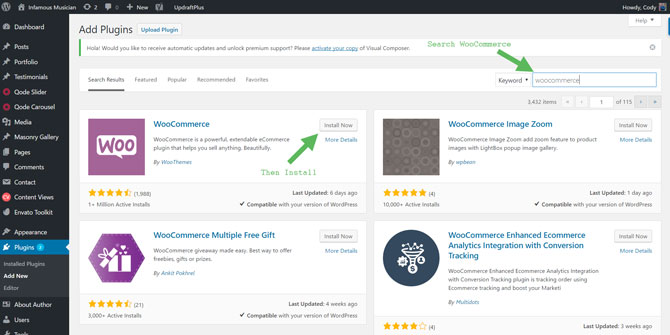
Then, search for WooCommerce and install the plugin:
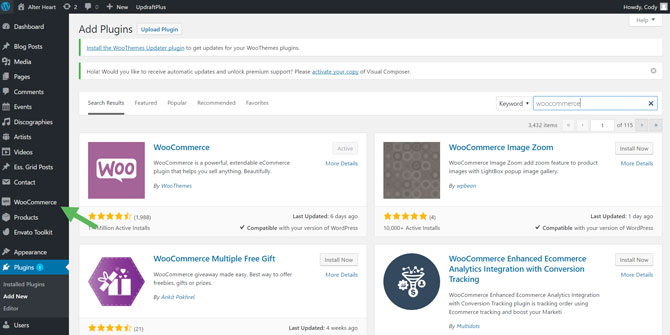
Once the plugin is installed, click “WooCommerce” in the left-hand navigation:

You will then be directed to a page where you can see all of your orders. You won’t have any at this point. So click “Settings” under “WooCommerce” in the left-hand navigation and I’ll show you how to set up your store:
WooCommerce Settings
Once on the Settings page, you’ll notice there are a few different tabs for adjusting the settings. You want to configure your settings before doing anything else. Start with the first tab, “General”:
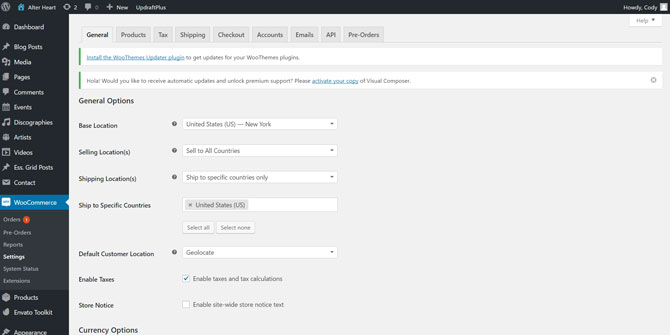
These are the general settings for WooCommerce. Here you can set your location, decide whether you’d like to ship to certain countries, enable taxes, and set your currency.
Moving onto the next tab “Products”:
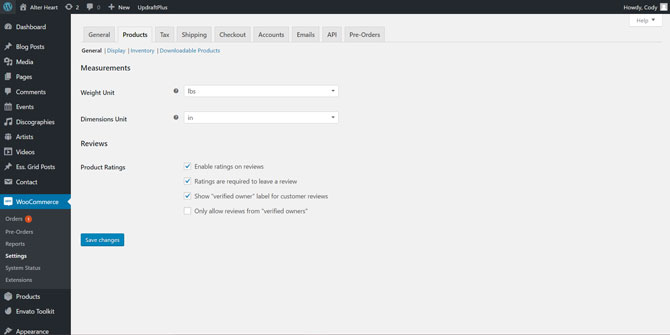
This are has a fection different sections. Under “General”, you can set the units you want to use for weight and dimensions. Under that you can decide if you want to enable reviews for your products.
Under the “Display” link, you can set how you’d like your products to show up:
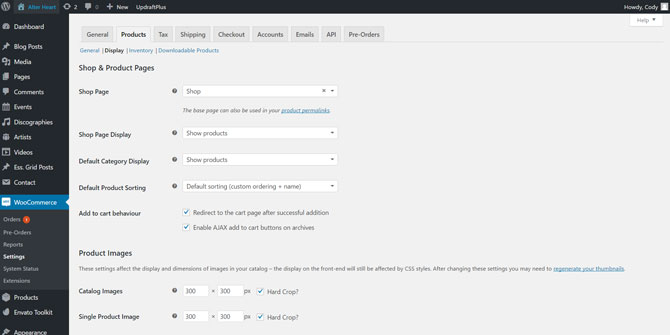
First, you can decide what page you’d like to use for you Shop page. If you haven’t created one yet, WooCommerce may prompt you to create one. However, it likely created one for you when the plugin was installed.
Scrolling down further, you can set the size of the product images. I would leave this how it is for now.
Now move to the “Inventory” link: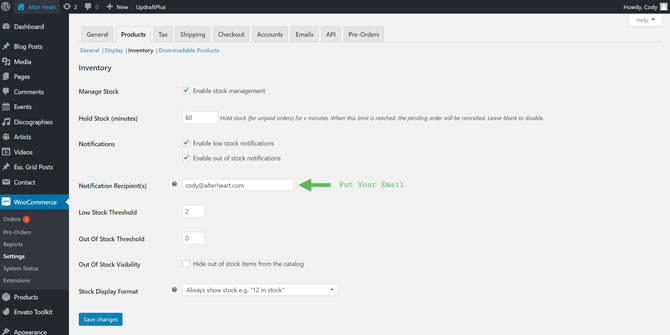
Here you can decide if you’d like WooCommerce to keep track of your inventory. So if you have 60 t-shirts, and you sell 10 through the site, WooCommerce will keep track of that. It will also let you know when you’re low or run out. You can set what WooCommerce should define as “low” under “Low Stock Threshold”.
Finally, let’s take a look at the “Downloadable Products” link:
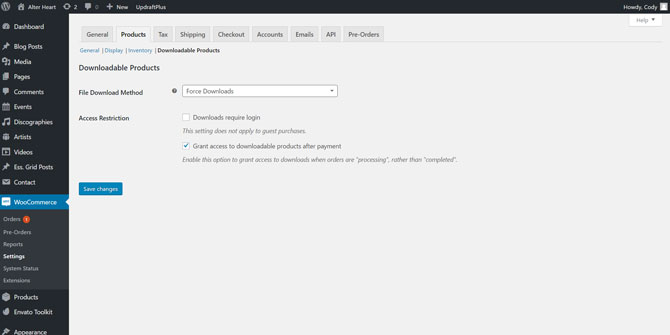
Here you can decide how downloadable products are handled. I would leave it set to “Force Downloads”.
Now, let’s take a look at the “Tax Options” tab:
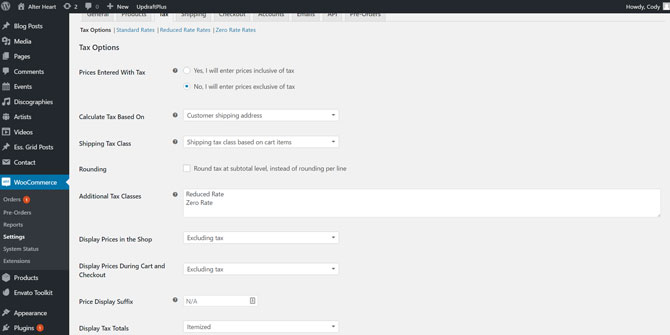
Here you can decide to include tax in the price, where to calculate the tax, set up shipping classes and more. Honestly, I wouldn’t mess around with this section too much unless you need to set up specific tax rates.
To set up a standard tax rate for your products, click the “Standard Rates” tab:
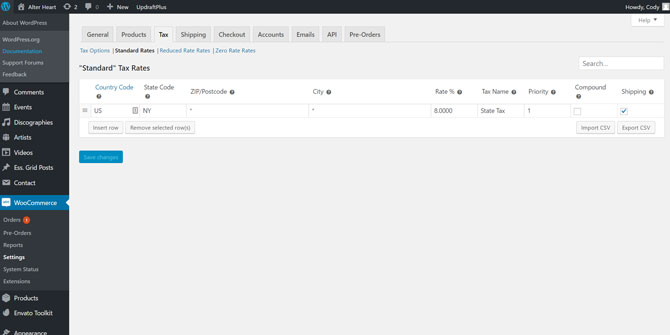
Here you can create a tax rate to be applied to all your products. When I built www.alterheart.com (the site these screenshots are taken from), I was living in New York. So I set up a tax rate for New York. Then, since I decided to tax people based on their shipping address (in the previous area “Tax Options”), anyone who placed an order that shipped somewhere in New York would be charged 8%. Everyone else was not taxed.
There are a few more areas but you likely don’t need to touch these. So let’s move onto the next tab, “Shipping Zones”:
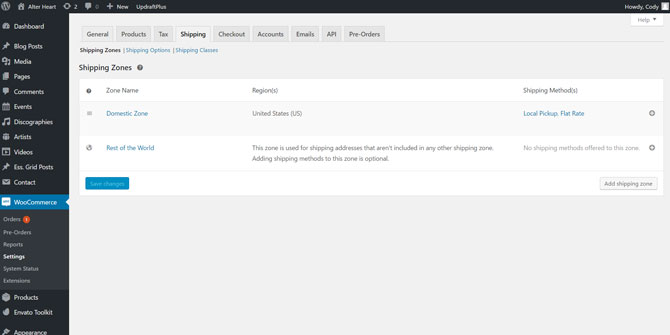
Here you can create shipping zones. So for instance, you can create a zone for each country you ship to. If you’re in the U.S., it will already be set up.
Under “Shipping Options” you can decide if you’d like to include a shipping calculator on the cart page: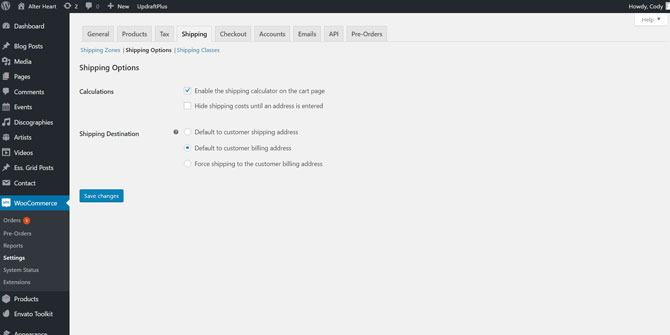
Note, when creating a product you’ll need to include the product weight and dimensions for this to work.
Let’s move onto the tab “Checkout”:
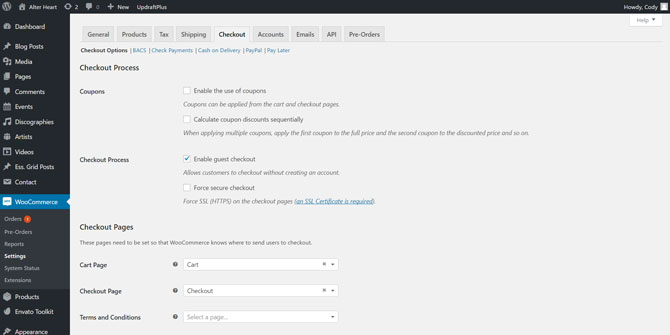
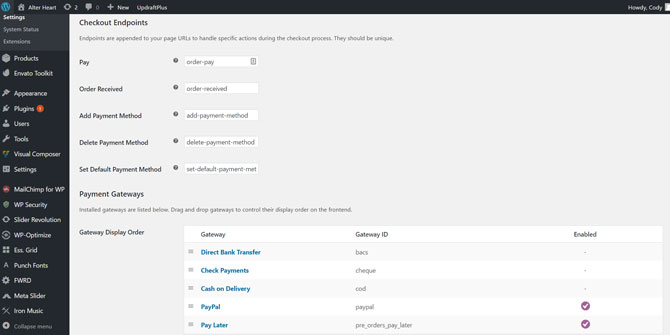
Here you can decide if you want to allow guest checkout, what pages you want to use for the Cart and Checkout (you can leave these as is if you don’t have a specific page you’d like them to use), and choose how’d you like to get paid:
The easiest and likely best payment option is to choose Paypal. This is simple to setup. First, click “Paypal”. Then under the Paypal section, add your Paypal email.
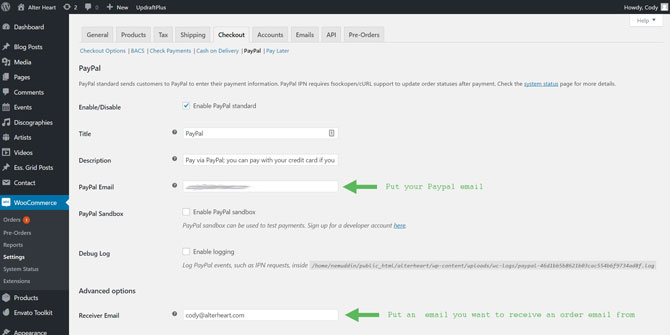
Then save your settings and you’re set to receive payments on your website through Paypal.
Now, onto the “Accounts” tab:
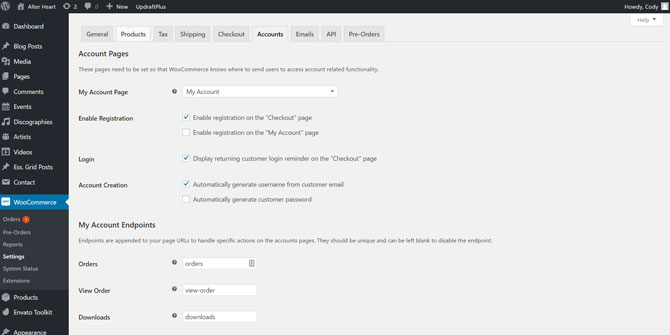
Here you can enable where you’d like visitors to register for your site when they make a purchase (if you elected to not use guest checkout). I would leave this page as-is.
Next up, the “Emails” tab:
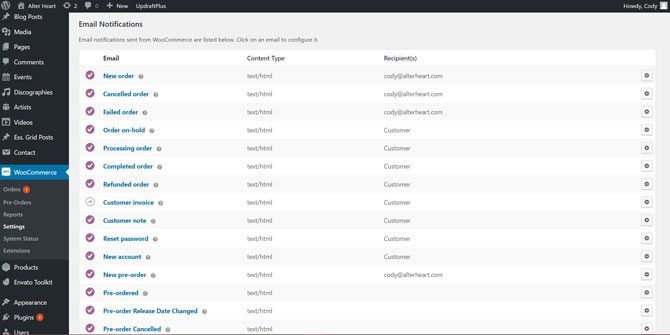
Here you can set where you’d like each email to be sent. Leave customer emails set how they are. But for the others, you can add a different email if you’d like WooCommerce to send order emails to that address. If unsure, leave this as-is.
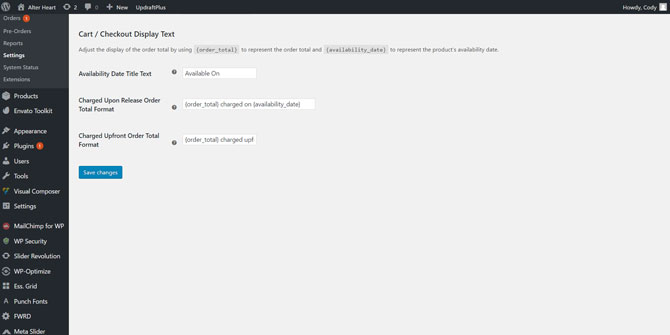
The final tab I want to cover is the “Pre-Orders” tab. This tab will not come with WooCommerce stock. You will need to purchase a different plugin to setup pre-orders on your site. The plugin you’ll need is WooThemes’ Pre-Orders Extension. The plugin is a bit more on the pricier side at $129. But, I’ll show you options below in case you want to get that plugin. If not, just move along to the next section.
So once you have that plugin installed, you’ll see the “Pre-Orders” tab under the WooCommerce settings:
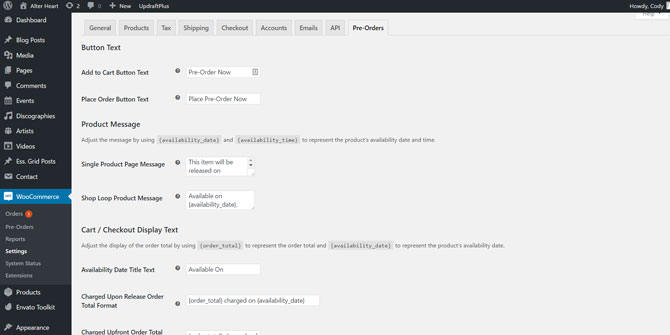
Here you can change the text of the pre-order button and messages. If all of this looks a bit too complicated to you, you can just leave the settings as is. They’ll be fine set how they are should you want to offer pre-orders on your site.
We’re finally through all of the WooCommerce settings. Now, let’s take a look at how to add your first product:
Adding Products to Your Site
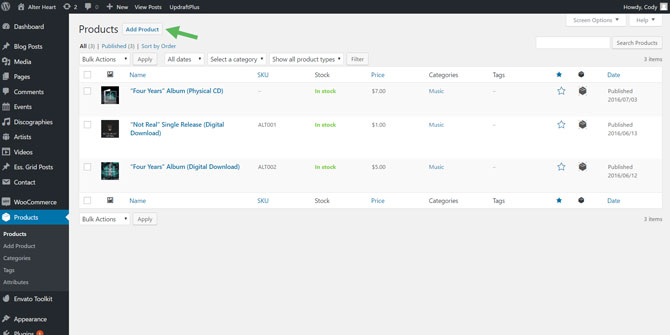
First, click the tab that says “Products” in the WordPress left-hand navigation (this will be directly under “WooCommerce”). You’ll then be directed to the Products page where you can see all of the products you have created. In the example below, I have a few already added but you won’t have any add this point. So let’s add a product by clicking “Add Product”:
You’ll then be directed to the details page for your new product:
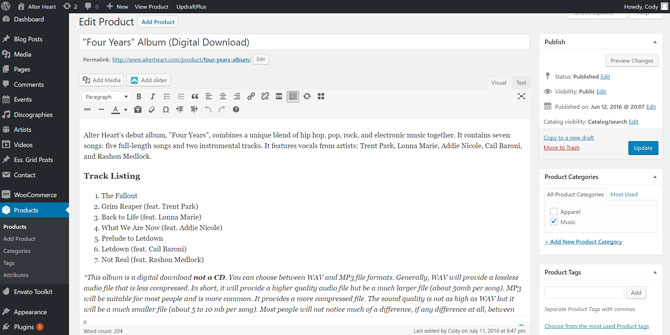
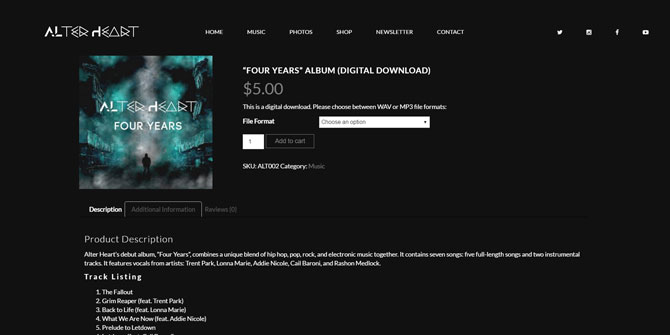
First, you can name your product in the box at the top of the page. In the above example, my product’s name is “Four Years” Album (Digital Download). I chose to include digital download within the title so visitors immediately know this is a download and not a physical product.
Moving on is a text box where you can add the product’s description. I’ve chosen to include the track listing and again reiterate that it is a digital download.
Scrolling down a bit you’ll see a few more options:
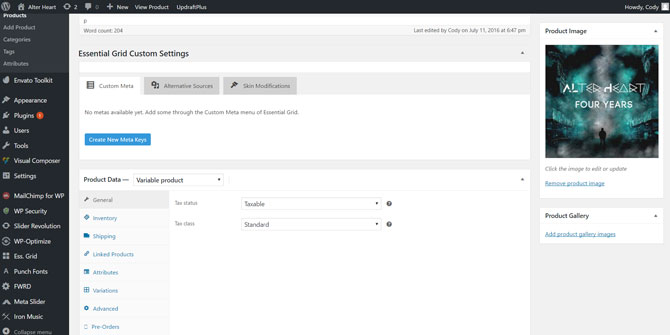
Now, I’m not entirely sure but I believe the “Essential Grid Custom Settings” area enables you to add and customize a photo grid (gallery) on this page. However, this is not necessary to set up (and if you don’t have the Essential Grid plugin installed, you won’t see this option).
In the box to the right, labeled “Product Image”, you can add the featured (or main) image for this product. This is the image that will show up on your shop page with the rest of your product listings.
Then, you’ll see a box labeled “Product Data” (at the center of the page). The first tab is labeled “General”. Here you can decide if this product is taxable and which tax class (rate) to use.
Moving to the next tab “Inventory”:
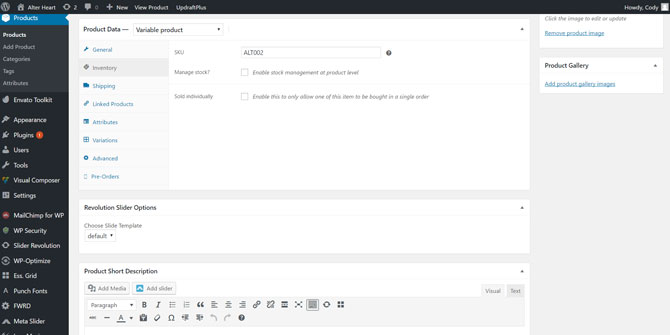
Here you can a product SKU (a unique product identifier). This is not necessary to do but on my product, I’ve chosen to add one “ALT002”. You can also enable stock management here.
From there is the “Shipping” tab:

Here you can add the weight, dimensions, and shipping class for the product. Since this product is a digital download, these don’t need to be filled in.
Now, onto the “Linked Products” tab:
Here you can select related products you’d like to show with this product. This will show up at the bottom of the product page.
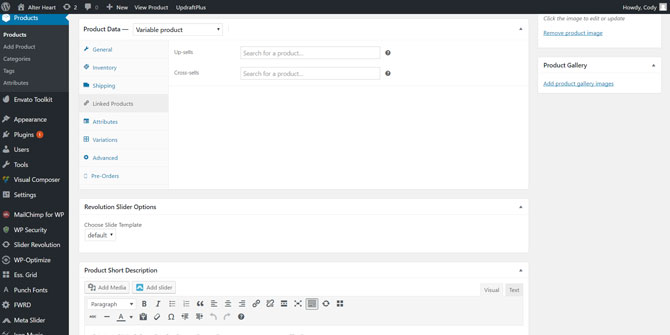
Now the “Attributes” tab:
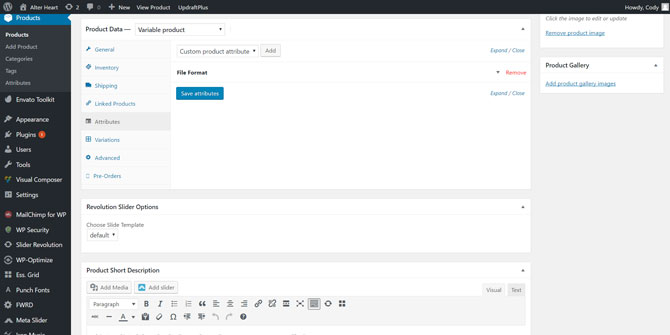
Here you can set the different attributes for this product. Attributes are used to create product variation. In my example, I’ve chosen to create an attribute titled, “File Formats”, since I want to offer both MP3 and WAV formats under this product listing. When you create the attribute, there will be a box titled, “Values”. This is where you would add your variations. So for mine, I added “WAV | MP3” to the box. The “|” sign is used to separate the different values/options. Also, there will be a checkbox that says “Used for Variations” be sure to check this.
Now, let’s take a look at the “Variations” tab:
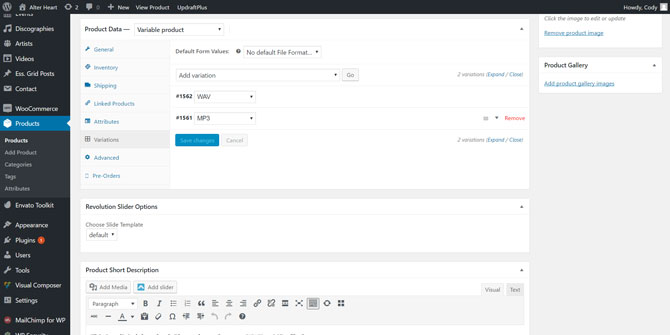
Here you’ll see all of the variations you have created for this product. In my example, you can see I have a variation for “WAV” and “Mp3”. You won’t have any created yet, so you’ll need to create them (only if you want to offer a product with variations, otherwise move onto the next tab).
To create your variations, click the drop down box that says “Add variation”. There will be quite a few options. You can add variations manually but if you added an Attribute with values (in the previous tab), you can click “Create variations from all attributes” and all variations will be created automatically.
Now, with your variations created, you’ll see them listed here. When you hover over their row, you can click on them and a box will expand giving you options for each variation:
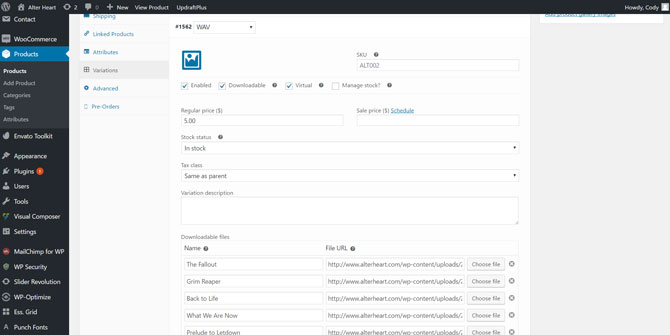
In the above example, I clicked on the “WAV” variation. You’ll see that you can set the different options for this variation. You can give it a different SKU, different price, keep track of stock, etc. You can also decide if the product is enabled (meaning it will show up live on your product page), and whether it’s a virtual and downloadable product.
Since this product is a download, I’ve selected the “Downloadable” and “Virtual” (this is used if a product is not physically shipped) checkboxes.
When you check the “Downloadable” checkbox, an area will appear to add your downloadable files:
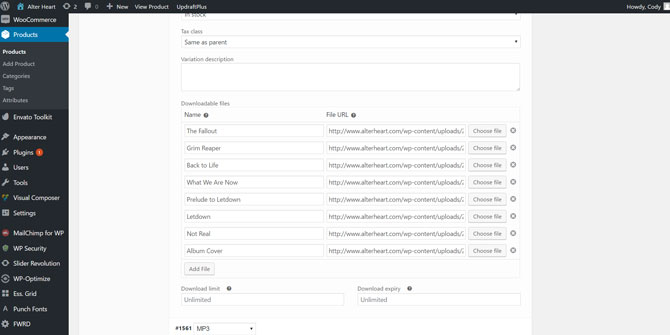
This product is a digital download of an album I have on www.alterheart.com. The album includes seven songs, so I needed to include the name of each song and a link to the download file for each. You can add this link in the “File URL” box. One option would be to add your downloadable file (in this case, a WAV file) to Dropbox or Google Drive and get a shareable link th
One option would be to add your downloadable file (in this case, a WAV file) to Dropbox or Google Drive and get a shareable link. Then, you could add the link to the “File URL”.
Another option (and the one I’ve chosen to use) is to upload the file to your website. Click “Choose File” and you can upload the file. It will then be downloaded from your site when someone makes a purchase.
Now, let’s move onto the “Advanced” tab:
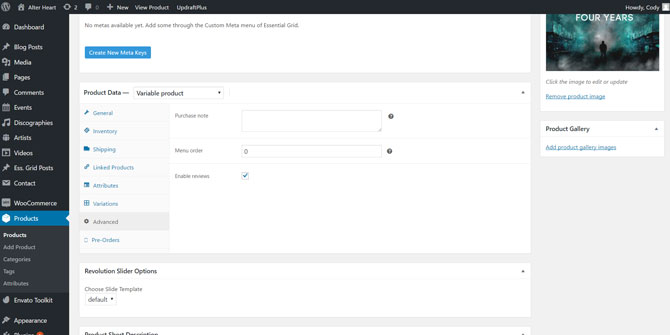
Here you can enable reviews for this product and include any purchase notes.
Now the last tab, “Pre-Orders”, will only show up here if you purchased and installed the Pre-Orders plugin from WooThemes like I mentioned earlier.
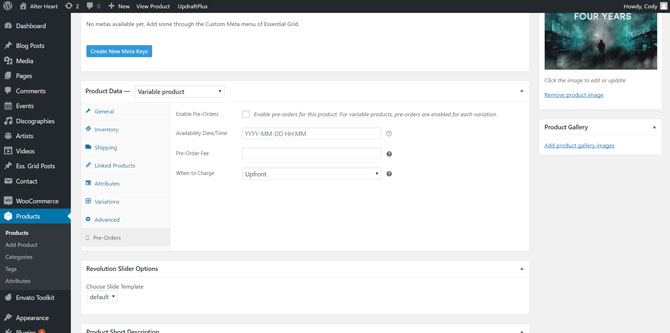
Here you’ll be able to enable pre-orders for this product, set a release date, set the pre-order fee, and when the customer will be charged.
Finally, scrolling a bit further down the page you’ll see a box that says “Product Short Description”:

This description will show up just under the price on your product page (as you can see in the image above). Here you can offer a quick overview of the product.
Now, with everything set, you can save the product and it will now be live on your site. Here is what the product page looks like for the example I have been using for this post:
That’s it! The product is live and it will be listed on your shop page for visitors to find. I know this post was quite long and setting up a product can be a bit difficult at first. So if you have any questions, leave them in the comments below and I’ll do my best to answer them.
Otherwise, let’s move onto Step 9: Adding Music to Your Website
Or, click here to head back to the main page.
