
If you bought one of the themes I recommended in the previous step, then there is a slightly different process for installing it than if you picked on through the WordPress backend. In this post, I’ll show you how to install your ThemeForest theme.
Here’s how to do it…
This post is part of a 14-step series on creating a website for your band using WordPress. Click here to go back to the main page.
Installing Your Theme
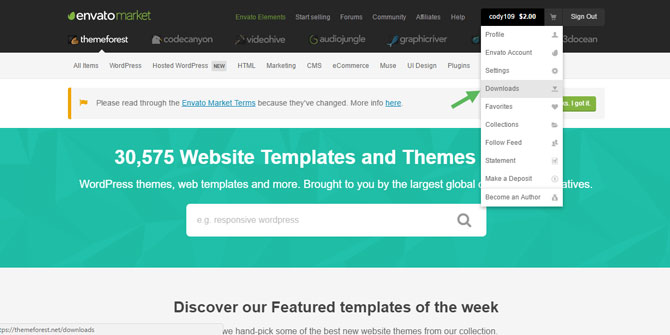
First, you will need to download the theme from ThemeForest (the website you purchased the theme from). Login to your account (if not already logged in) and click on downloads:
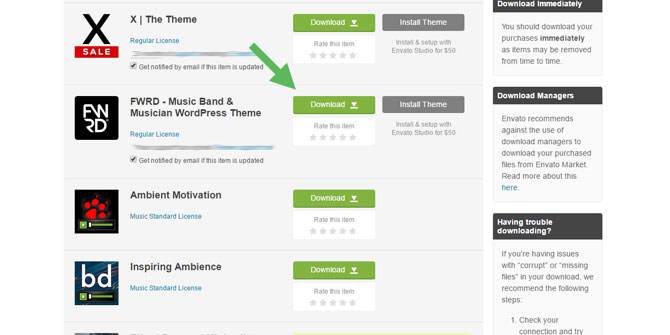
Then, locate the theme and click download. A drop down box will open up. Click “All files and documentation”. You can also click on “License certificate & purchase code”. This code will be used to register your theme once you install it. This is especially important for updates and to receive support when you need it.

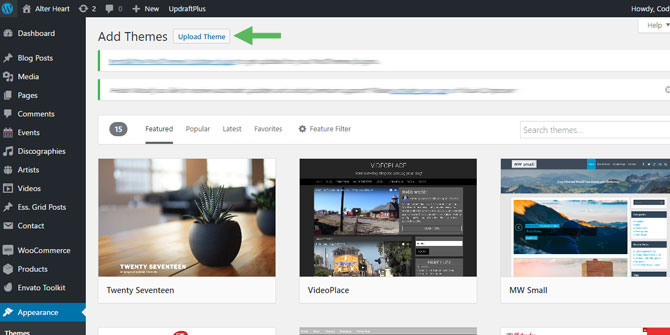
With your theme downloaded, navigate to the Theme section in your WordPress backend. This is located under the tab “Apperance” > “Themes”.
Once on the Themes page, click “Add New”.

Then, you will be brought to a new page. Click on “Upload Theme”:
A button will open up that asks you to select the file from your computer.
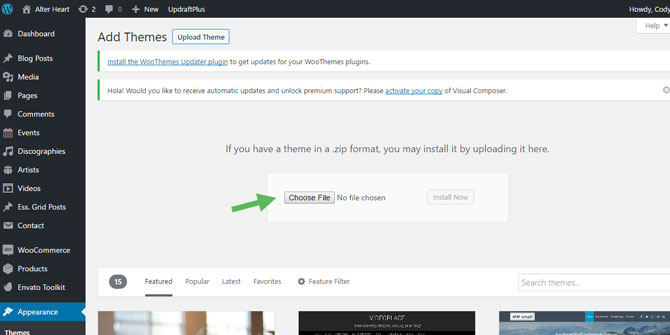
Then, navigate to your downloads folder and select the file you downloaded from ThemeForest.
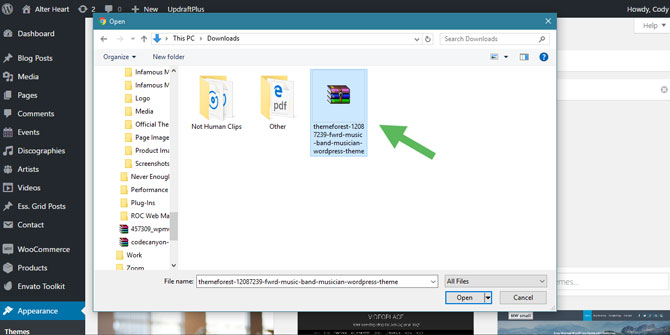
The file will begin uploading. This can take a few minutes to complete.
If you have an issue, it may be because the actual zip file is inside the zip file you downloaded. A lot of times, theme will zip a group of already zipped files together (usually with one zip for documentation, one for plugins, one for the actual theme, etc.). So you may need to extract the file and try uploading again.
If you’re still having trouble, you may need to upload via FTP. This is pretty simple but you will need to download an FTP program to do so. Filezilla is a good one (it’s the on I use) and it’s free. Here’s a good tutorial on how to set that up and upload your files that way.
Finally, once your theme is uploaded to your site, you need to activate it. On the Themes page, hover over your newly installed theme. A box will pop up that says “Activate”. Click that button to activate your theme.
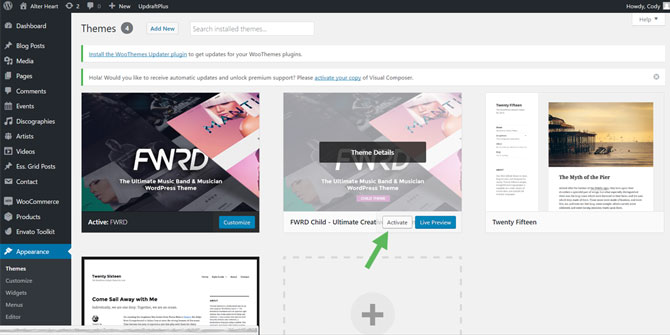
If your theme comes with a child theme, you will see two options for the theme you installed. One will say the theme name and the other will say the theme name with “child” after it (for example, FWRD Child). In web design, it’s generally best practice to use the child theme. By using the child theme, any style changes you make (specifically to the CSS) will not be overwritten. If you’re unsure of what this is, just pick the child theme if available and you’ll be all set.
In web design, it’s generally best practice to use the child theme. By using the child theme, any style changes you make (specifically to the CSS) will not be overwritten when the theme is updated to a new version. If you’re unsure of what this is, just pick the child theme if available and you’ll be all set.
Again, if you have any questions, leave them in the comments below and I’ll do my best to answer them. If not, let’s move onto Step 6: Customizing the FWRD Theme.
Or, click here to head back to the main page.
