Just getting started writing, recording, and/or mixing music but aren’t quite sure what you need or how to get started?
This infographic will show you all the home recording studio equipment you’ll need. The graphic covers finding the right computer, audio interface, speakers, headphones, and more. Also, be sure to scroll further down past the infographic. I’ll reiterate the points made but I’ll include recommendations (with links) for each section.
Learn how to create the perfect home studio with this FREE PDF, “10 Things to Consider When Creating Your Home Studio (That You Probably Haven’t Thought About Yet)”.
Click Here to Get the PDF![Home Recording Studio Equipment [Infographic]](https://www.infamousmusician.com/wp-content/uploads/2017/02/home-recording-studio-equipment-infographic.jpg)
Like this graphic? Copy and paste this code to share it on your website:
<p><a href=”https://www.infamousmusician.com/home-recording-studio-equipment”><img src=”https://www.infamousmusician.com/wp-content/uploads/2017/02/home-recording-studio-equipment-infographic.jpg” alt=”Home Recording Studio Equipment Infographic” title=”Home Recording Studio Equipment Infographic” /></a></p>
1. Computer
It all starts with your computer. If you’re just starting out, you likely have a computer that is powerful enough. But if you’re looking to make a new purchase, focus on the most amount of RAM you can afford. More RAM will allow you to run more plugins with less slowdown or spikes. As far as an OS (MAC or PC), choose the one you are more familiar with. Despite what you may have heard, both will be fine for music production.
Minimum Requirements:
CPU: Dual Core 1.9 GHZ
RAM: At least 4GB (more if you can afford it)
Hard Drive: 250GB, preferably Solid State or a combo of an SSD and HDD (one to run your programs and the other to hold your files). Remember, song files and music libraries eat up a lot of space. If you can afford more then go for it.
Recommendation:
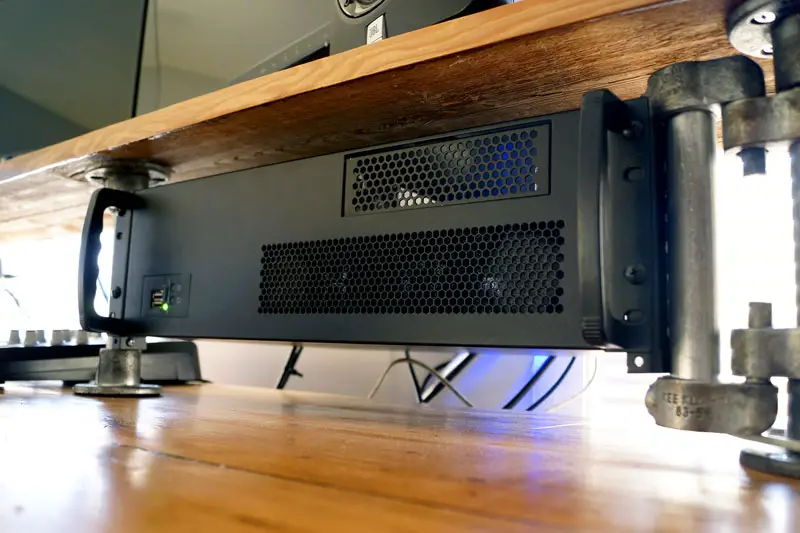
There are tons of options for computers, stick to those minimum requirements and you’ll be fine. If you’re looking for a desktop, I would consider building your own. It’s much easier than you may think and it can be much more cost effective. Basically, you’ll get more for your money. I did this for my home studio and build an extremely powerful computer for about $1000:

You don’t need to go all out like I did but I likely saved about 50% of what a computer with similar specs would have cost at the time. I even did a full write-up on my build if you want to follow along:
“How to Build a Rackmount PC for Video Editing & Music Production”
2. DAW
A DAW is your actual recording software. Any program will do. No DAW will sound better than another. The difference is the workflow and available features. Experiment with a few to find one you like. here are a few popular ones for each OS:
Windows Only: Sonar
Mac Only: Garage Band, Logic
Both: Studio One, Pro Tools, Cubase, Ableton Live, FL Studio, Reaper, Bitwig
Recommendation:
I can’t recommend Studio One enough. I believe it’s way more intuitive and easier to learn than many others. It’s also just as powerful and feature packed as Pro Tools or Logic. Don’t get caught up in the hype that you need to use one DAW over another in order to produce professional music. Another plus about Studio One is that it runs on both PC and Mac. Which can make collaborating or exchanging files easier.
3. Audio Interface
An audio interface is used to convert analog signals to digital. You’ll need one if you plan on recording any audio source with a microphone (like vocals, guitar, etc.). Audio interfaces can vary widely in price and features. One of the biggest difference, though, are the number of inputs. Consider how many audio sources you’ll need to record at once before making a purchase. Here is a good guideline:
- 1 to 2 inputs | $50 – $200 | Best for Solo Musicians, Guitarists, and Vocalists.
- 4 Inputs | $100 – $350 | Best for Home Recording Enthusiasts and Drummers.
- 8 or More Inputs | $250 – $1000+ | Best for Drummers, Full Bands, and Mixing Engineers.
Recommendations:
2 Inputs: Presonus Audiobox 2×2. I used to use this interface for recording on my laptop and for playing my guitar out live (I used Amplitube to play live for a little while). It’s a solid unit (the case is all metal) and features a simple setup. The interface goes for about $100. This interface by Behringer would also be a good pickup for a bit cheaper (about $57).
4 Inputs: Behringer U-Phoria UMC404HD. I recently picked up this audio interface for band practice. I run mine and another singer’s microphone into it and run an output into the mixing board. It works great and I have not had any issues with it. Best of all, it was only $100.
8 Inputs: Behringer UMC1820. This is the bigger brother to the UMC404HD with 8 XLR inputs, 10 1/4″ outputs, and MIDI capability. For this many features, the price is great at $300.
For more options, check out this 2018 audio interface guide.
4. Speakers
Next, you’ll need a decent pair of speakers (AKA Reference Monitors). These can range from $100 to $8,000+ per pair. However, if you’re just starting out, or even if you’re at an intermediate level for mixing, you should be able to pick up a decent pair in the $200 – $300 range. My recommendation would be the JBL LSR305s. They have a nice, natural sound and are good for small to medium sized studios.
Recommendations:
- JBL LSR305s. Best for small to medium sized studio spaces. Priced at about $245 for the pair.
- JBL LSR308s. Best for large studio spaces. Priced at about $475 for the pair.
5. Headphones
You’ll probably want a nice pair of headphones too so you can double check mixes or record after your neighbors complain it’s too loud. There are two main types of headphones (best suited for your studio):
- Open-Back Headphones: Allow noise into and out of headphones to give a more natural sound. Best for mixing.
- Closed-Back Headphones: Do not allow noise into or out of headphones to keep noise from leaking into a microphone. Best for recording (especially vocals).
Recommendations:
- Closed-Back: Sennheiser HD280 Pros (About $100 new)
- Open-Back: Beyerdynamic DT990 Pros (About $180 new)
6. Desk
When considering a desk, make sure you have a way to position your speakers at ear level and pointed at you to form an equal triangle (the ideal setup for mixing). Also, consider your workflow. A standing desk might be a good fit if you find you get up and sit down a lot (like when recording your own vocals).
Recommendation:
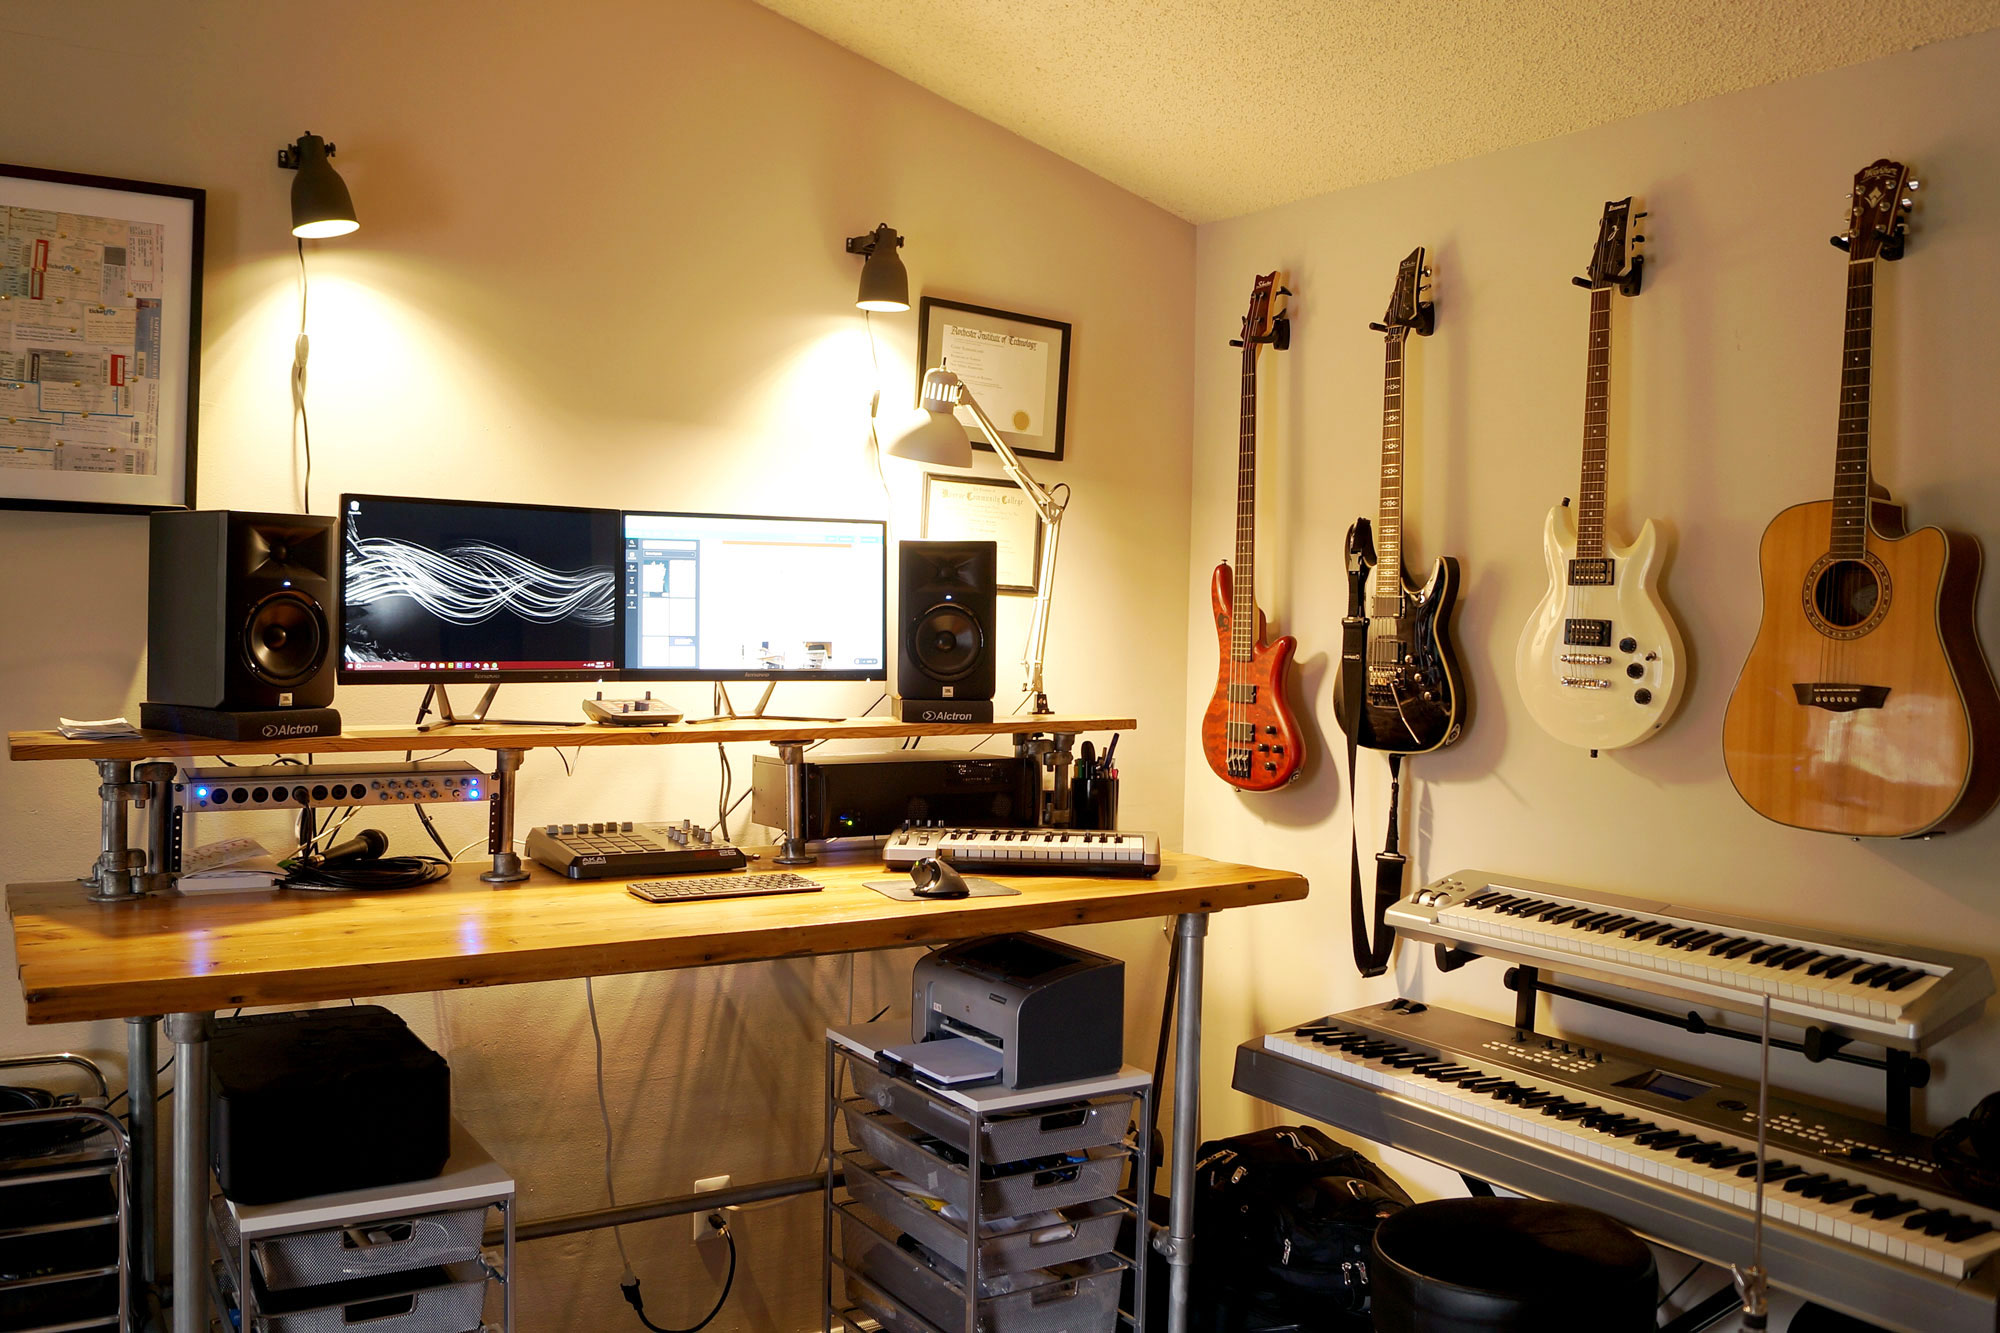
Find a good fit for you. If you find that you’re standing, or getting up and sitting down a lot, a standing desk might be a good fit. But, you don’t have to go crazy here. Many desks made for recording are on the more expensive side, and in my opinion, overpriced. Personally, I went the DIY route and built my own desk:

I got exactly what I wanted and it was a rewarding experience building it. I would definitely recommend doing something similar. Here is an entire walk-through of the desk I built.
7. Microphones
You’ll also need a quality microphone. But, don’t think you need to break the bank to get one. You should be able to pick up a quality microphone in the $100 – $200. Here are a few good choices
Recommendations:
- Shure SM57 ($100 New): Best for mic’ing a guitar cabinet or the top of a snare drum
- Rode NT1A ($230 New): Best for recording vocals, acoustic guitar, or as overhead mics for a drum kit.
- Audix DP4 Mic Kit ($450 New for 4 mics): Best for mic’ing the toms and kick on a drum kit.
8. Cables
Every studio setup is likely going to require a bunch of different cables. You’ll want to have the following:
- XLR Cable(s). To plug your microphone into your audio interface.
- Instrument Cable(s). For guitar, bass, or the output on a keyboard.
- Speaker Cables. You’ll need two for your studio speakers. These will likely be an XLR to 1/4″ connection or 1/4″ to 1/4″
- USB Cable(s). For MIDI keyboards or controllers. You may want to consider some USB extension cables too.
Recommendations:
Amazon and Ebay are good places to get cables. Honestly, when it comes to instrument and XLR cables, you’re not likely to notice a difference in sound quality between really expensive cables and cheaper ones. Some of the more expensive cables have gold plating, but I really don’t believe that makes a huge difference. I think the biggest difference is how they stand up to abuse. Cheaper cables tend to go faulty if put through a lot of abuse (swinging them around, winding them up, etc.). Anyways, here are a few good deals…
- 5 Pack of 25 ft. XLR Cables for $33
- 20 ft. 1/4″ Instrument Cable for $13
- 10 ft. XLR to 1/4″ Cable for $10 (for your speakers)
- 6 ft. USB Cable (A to B Male) for $5.49 (for hooking up USB MIDI gear)
9. Stands
Again, if you’ll be recording any audio source using a microphone, then you’ll need a stand for it. While it’s tempting to pick up the first cheap stand you find, cheaper stands tend to break easily and don’t stand up to lots of tear down and setup well. Consider the lifetime value of a higher quality stand.
Recommendation:
Like I mentioned above, cheap stands tend to break easily. Trust me. I have (and had) quite a few cheap stands and all of them have either completely broken or something is wrong with them (they don’t tighten down completely, the clips break, they swivel when they’re not suppose to, etc.). You’ll likely end up paying more in the long run (like me) by going cheap. With that said, here’s a good all around stand by K&M that doesn’t break the bank.
10. Accessories
Here are some accessories you may want to keep around (and have some extras of):
- 1/8″ Female to 1/4″ Male Adapter
- Patch Cable
- Microphone Clips
- Guitar Picks
Recommendation:
Ebay and Amazon are great for finding deals for these type of accessories. Avoid going to Guitar Center and buying things like a 1/4″ adapter there. They usually have a higher priced model and it’s just not necessary for this type of equipment. You can typically save 25 to 50% by buying this stuff on Ebay or Amazon even.
11. Acoustic Treatment
Lastly, but certainly not least, you’ll want some acoustic treatment for your studio (especially if you’re mixing music or recording music in your studio). However, don’t think you need to spend tons of money covering every wall in your studio. A few well-placed pieces can make a world difference. Here are a few good options:
- Acoustic Panels
- Sound Absorption Foam
- Moving Blankets
- Even furniture (like a couch or mattress) can help to deaden a room
Recommendation:
In recording situations when you need to deaden the reverb in the room, moving blankets work great. They’re cheap but really effective. You can pick them up from Harbor Freight for about $9 for a 72″ x 80″ blanket. Or, here’s a good deal from Amazon for 12 blankets for the same size for $60 (about $4.50/blanket).
For your studio, 12″ square foam panels (like these) are popular and can be effective in reducing room noise. But, you can also build your own acoustic panels (like these ones).
That’s it! Those are basic 11 items you should have in your home recording studio. Let me know in the comments below what you thought of the infographic and recommendations. Or, list some of your own!
Lastly, if you’re a vocalist looking to record vocals at home, be sure to check out my vocal recording course where I cover everything you need to know to record awesome vocals at home even if you have a poor sounding space.


Thanks a lot ! I am highly obliged with your blessings ! I will follow point to point your instructions . As my dream comes true, it will be due to your great ness and open heart views !
Thanks………!
Prakash Chandra
I’m really glad to hear that Prakash! I’m glad I could help!
Didn’t you mean “Mac” or PC? Isn’t Windows the same as PC?
You’re right! Thanks for pointing that out! I just updated it.